 THEREiS
Title :
3D Modeling with Meshy AI #1 - Setting Up the Development Environment
This page was translated from the Korean original using AI. If anything reads oddly, please refer to the original. Read the Korean original →
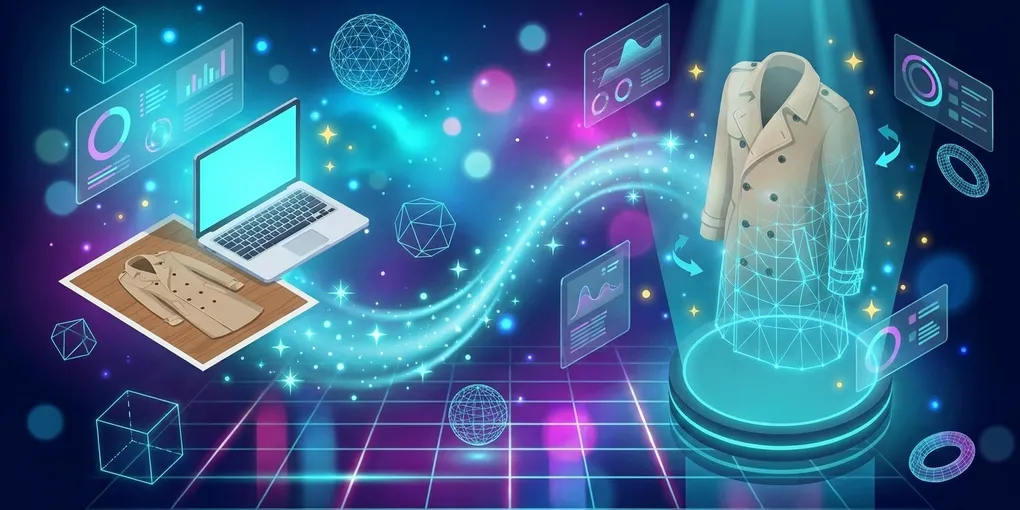
A while ago I wrote Can One Photo Turn a Product into 3D? (feat. Meshy AI) and promised to go into more detail. I went back and forth between a web app, a desktop app, and a mobile app, and decided a desktop app would probably be the best fit.
It’s also a good excuse to play with Python Qt again after a long break, and I’ve never built a desktop app on a Mac, so I figured I’d get some experience out of it too. Besides, a web version means preparing a server and a lot of other work. Nobody’s going to pay the server bills for me. I also liked the idea of building a desktop version and uploading it to Github Releases. For a moment I thought that GUIs are a hassle and maybe a CLI tool built with Node.js would be fine, but I’d like regular users to be able to use it too, and a CLI wouldn’t be very useful to most people. So, desktop it is.
My MBTI results bounce back and forth between INFP and ESTJ (probably because I graduated from both art school and engineering school), and for a hobby project I don’t want to agonize over server costs or detailed planning. I’m just going to code as I go.
Creating a Python Virtual Environment
A journey of a thousand miles begins with a single step. Since I decided to use Python, the first thing to set up is a Python development environment. Let’s start with a virtual environment.
Oh, and plenty of people have already written about installing Python, so you can find the info right away with a quick search. Click here to open a Google search and install it whichever way you like.
Keep in mind I’m on a Mac, and take a look at the command below.
python3 -m venv .venvThis creates a .venv directory in your project directory.
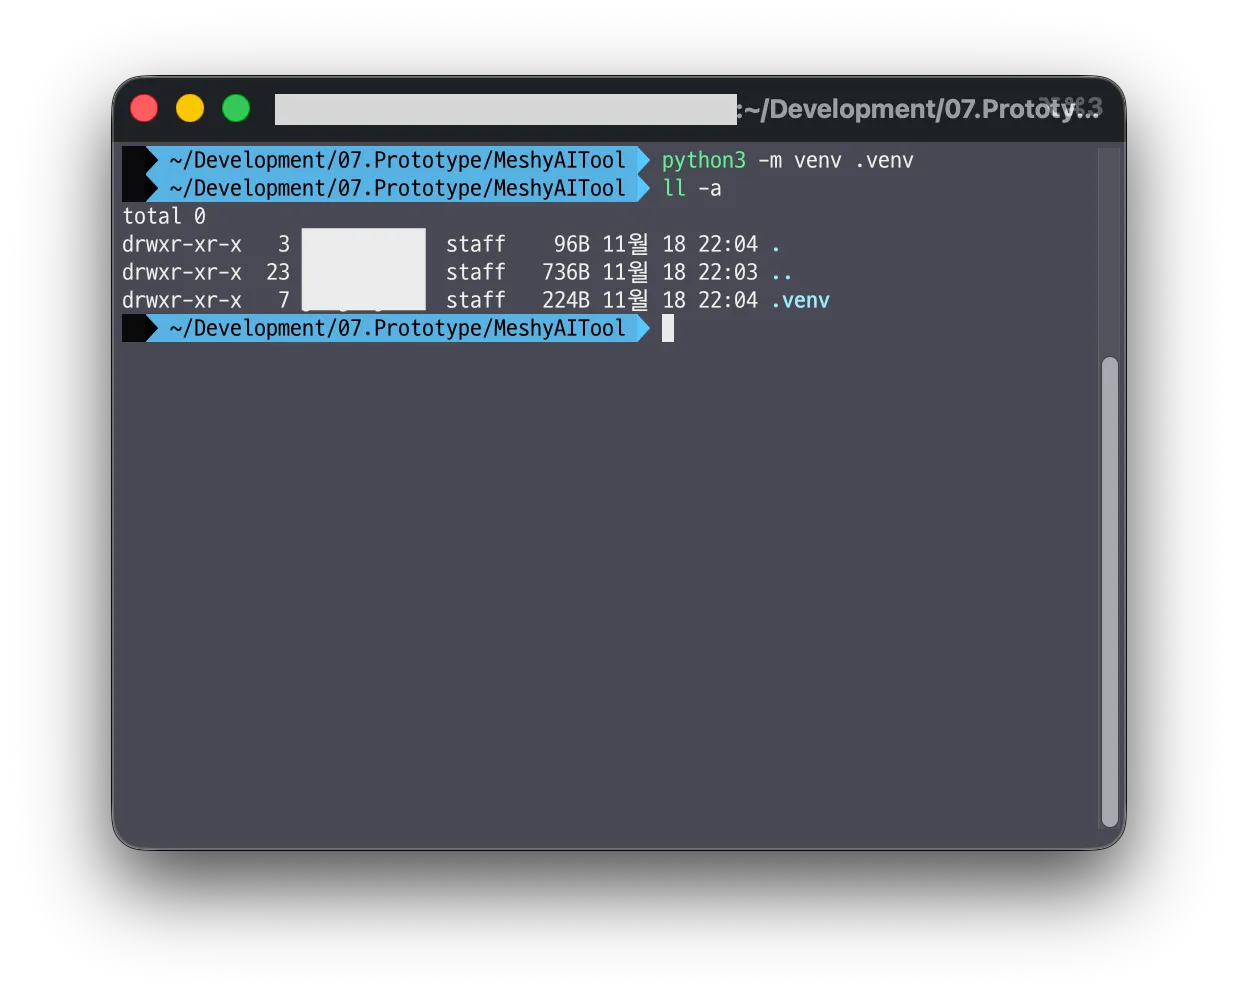 Now that the virtual environment exists, you could activate it with
source .venv/bin/activate, but that’s a hassle, so I’m going to keep going in VS Code. Installing the Python-related VS Code extensions makes Python development easy.
Picking Packages: Writing requirement.txt
Now let’s list the packages we need.
PySide6
To build a GUI in Python, you need PySide6. It’s the official Python binding made by Qt. PyQt6’s license (GPL) makes distribution awkward, so I’m going with PySide6, which is LGPL. Now that I’ve written this, I should talk about licenses in a future post too.
httpx, httpx-sse
For networking, I’ll install two packages: httpx and httpx-sse. I could have used requests, but I picked httpx. It supports streaming downloads, so you can track what percentage of a file has been downloaded. The modeling output files are fairly large, so streaming downloads are a must for a good user experience. httpx-sse adds support for SSE (Server-Sent Events). Meshy AI sends status updates in real time while it processes a 3D modeling request, so this one goes in too.
It stands for Server-Sent Events, a real-time web communication technology. It’s an HTML5 standard that streams real-time data one way, from the server to the client, over a kept-open HTTP connection.
- Key features: It uses plain HTTP (
text/event-stream) without any protocol switch, and it reconnects automatically if the connection drops. - Use cases: According to Gemini, it’s a good fit for server-push features like real-time notifications, stock and price updates, AI response streaming, and live feeds.
keyring
To use the Meshy AI API, you need to get an API key and use it to request models. If I just saved the API key locally, people would start saying the program’s security is weak and so on, so I’m installing the keyring package to store the key in the macOS Keychain or the Windows Credential Manager and keep it protected.
# GUIPySide6>=6.8
# Meshy API communicationhttpx>=0.27httpx-sse>=0.4
# Store the API key in the OS secure storagekeyring>=25.0And for TDD (Test Driven Development), I’ll also write a requirement-dev.txt for development.
We Need Dev Packages Too - requirement-dev.txt
# Packagingpyinstaller>=6.10
# Testingpytest>=8.0pytest-qt>=4.4respx>=0.21
# Linting & formattingruff>=0.6That’s what I picked. You’ve probably seen the others somewhere, but a quick word about respx: it’s a package that creates fake responses for httpx requests. It’s used for testing.
Installing
To install the packages, run the commands below.
(.venv) pip install -r requirement.txt # Install packages(.venv) pip install -r requirement-dev.txt # Install dev packages (optional)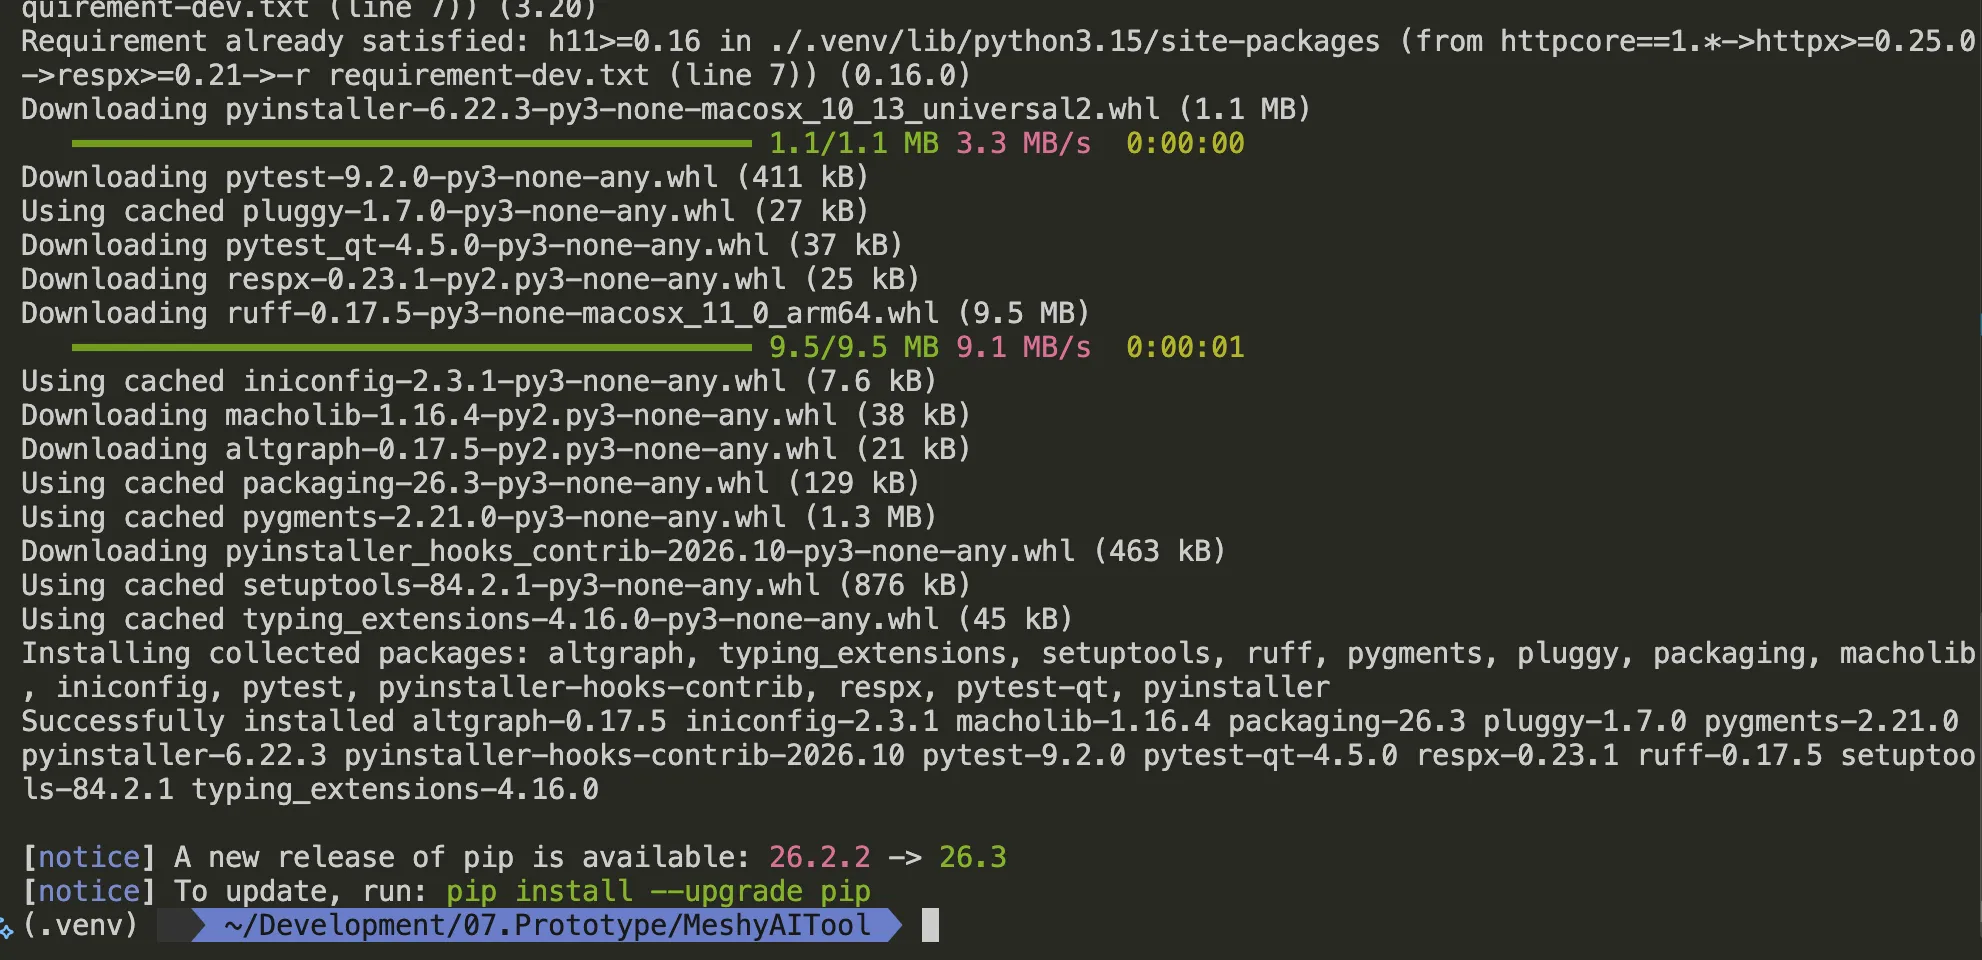
If everything installed fine, the development environment is ready, so shall we set up Github next? Github needs an SSH key, so let’s set it up using my earlier post, Setting Up an SSH Key for Github.
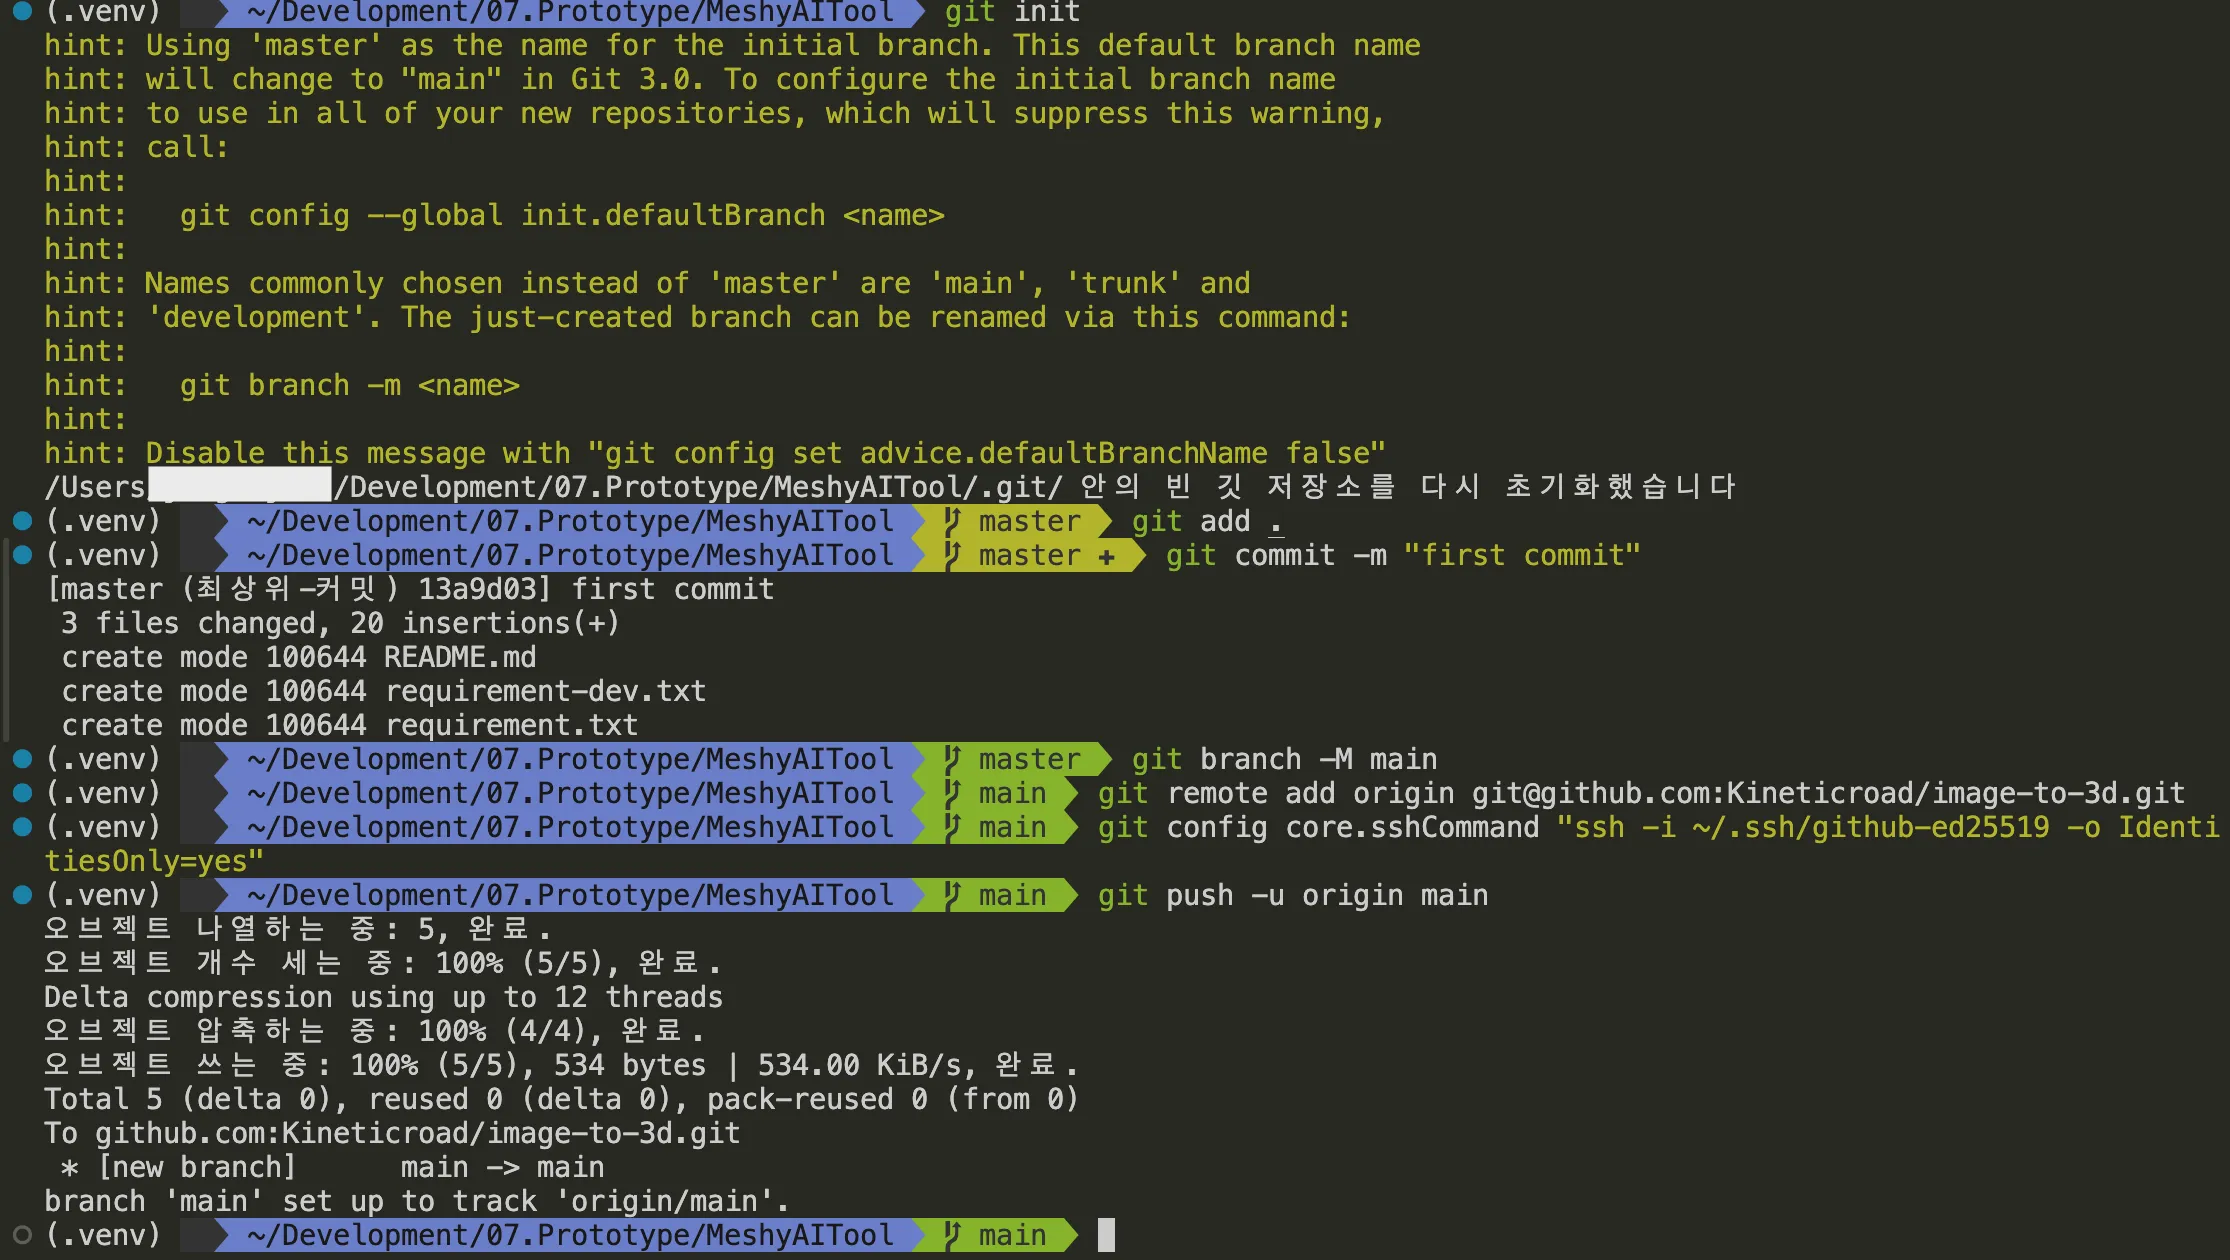
You can check out the source code at https://github.com/Kineticroad/image-to-3d.
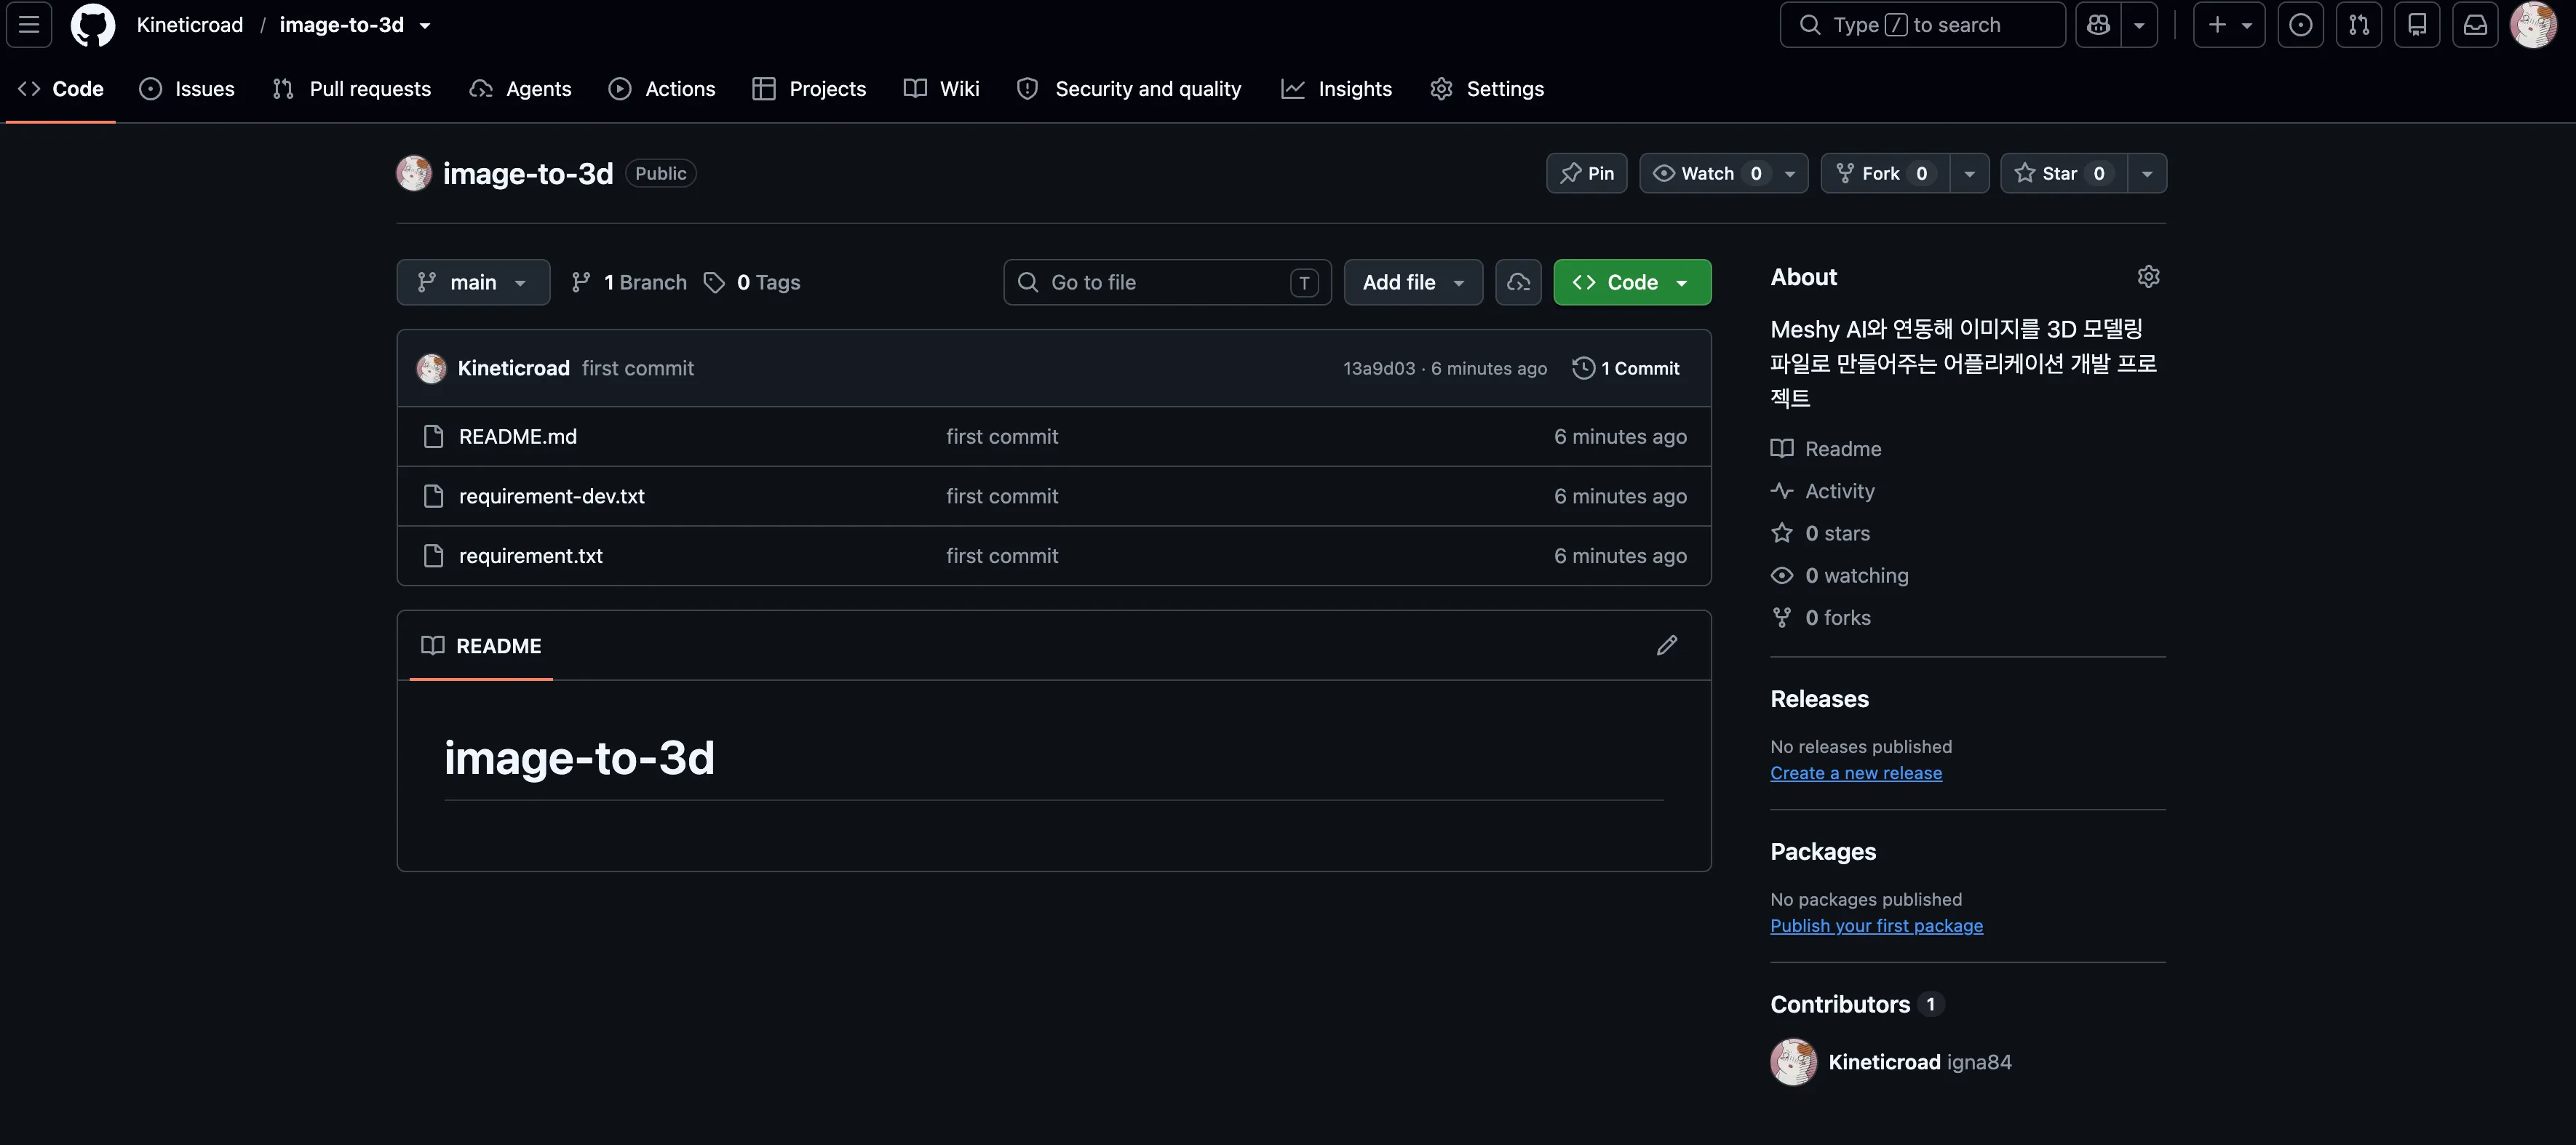
Today I set up the development environment, so starting with the next post, I’ll move the project forward, writing code and committing to Github as I go.
That’s it for today. Bye!

Loading comments...