 THEREiS
Title :
Building an Astro Blog #2 - Installing Astro
This post is translated from the Korean original. Read in Korean →
Installing Astro
Installing Astro is simple: just read Astro’s installation docs. The docs are multilingual, so you can pick your language from the language selector at the top right. If English isn’t your thing, reading the guide in your own language should help.
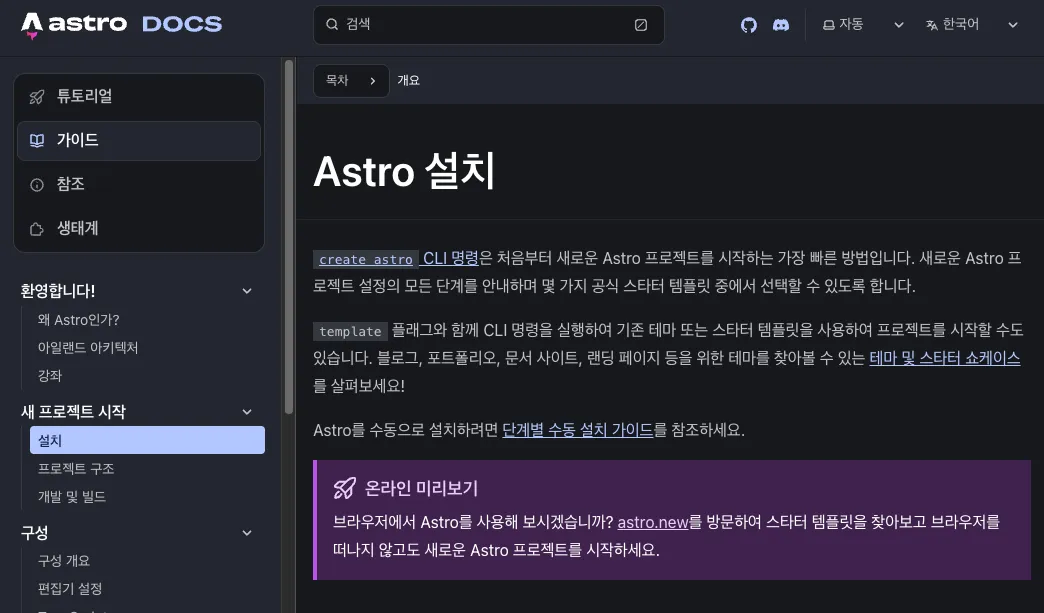
According to this guide, you first need Node.js installed. Check here for the Node.js download page. This post doesn’t cover installing Node.js, so I’ll skip that part.
When you install Node.js, you get NPM (Node Package Manager) by default. It’s the package manager for Node.js, a tool that lets you easily install and use packages published to the NPM registry from the CLI (Command Line Interface). If you’re curious, head over here.
Anyway, I’m going to show you how to install with NPM. If you’re one of those people who says “I use yarn” or “I use pnpm,” just follow along with the Astro installation docs. I’m going with NPM.
Step1. npm create astro@latest
# Start a new project with npmnpm create astro@latestYou can install Astro with just this one command. npm is the NPM I just mentioned, create means creating a project, astro is the name of the package to install, and what comes after @ is the version. Here I wrote latest, which means install the latest version.
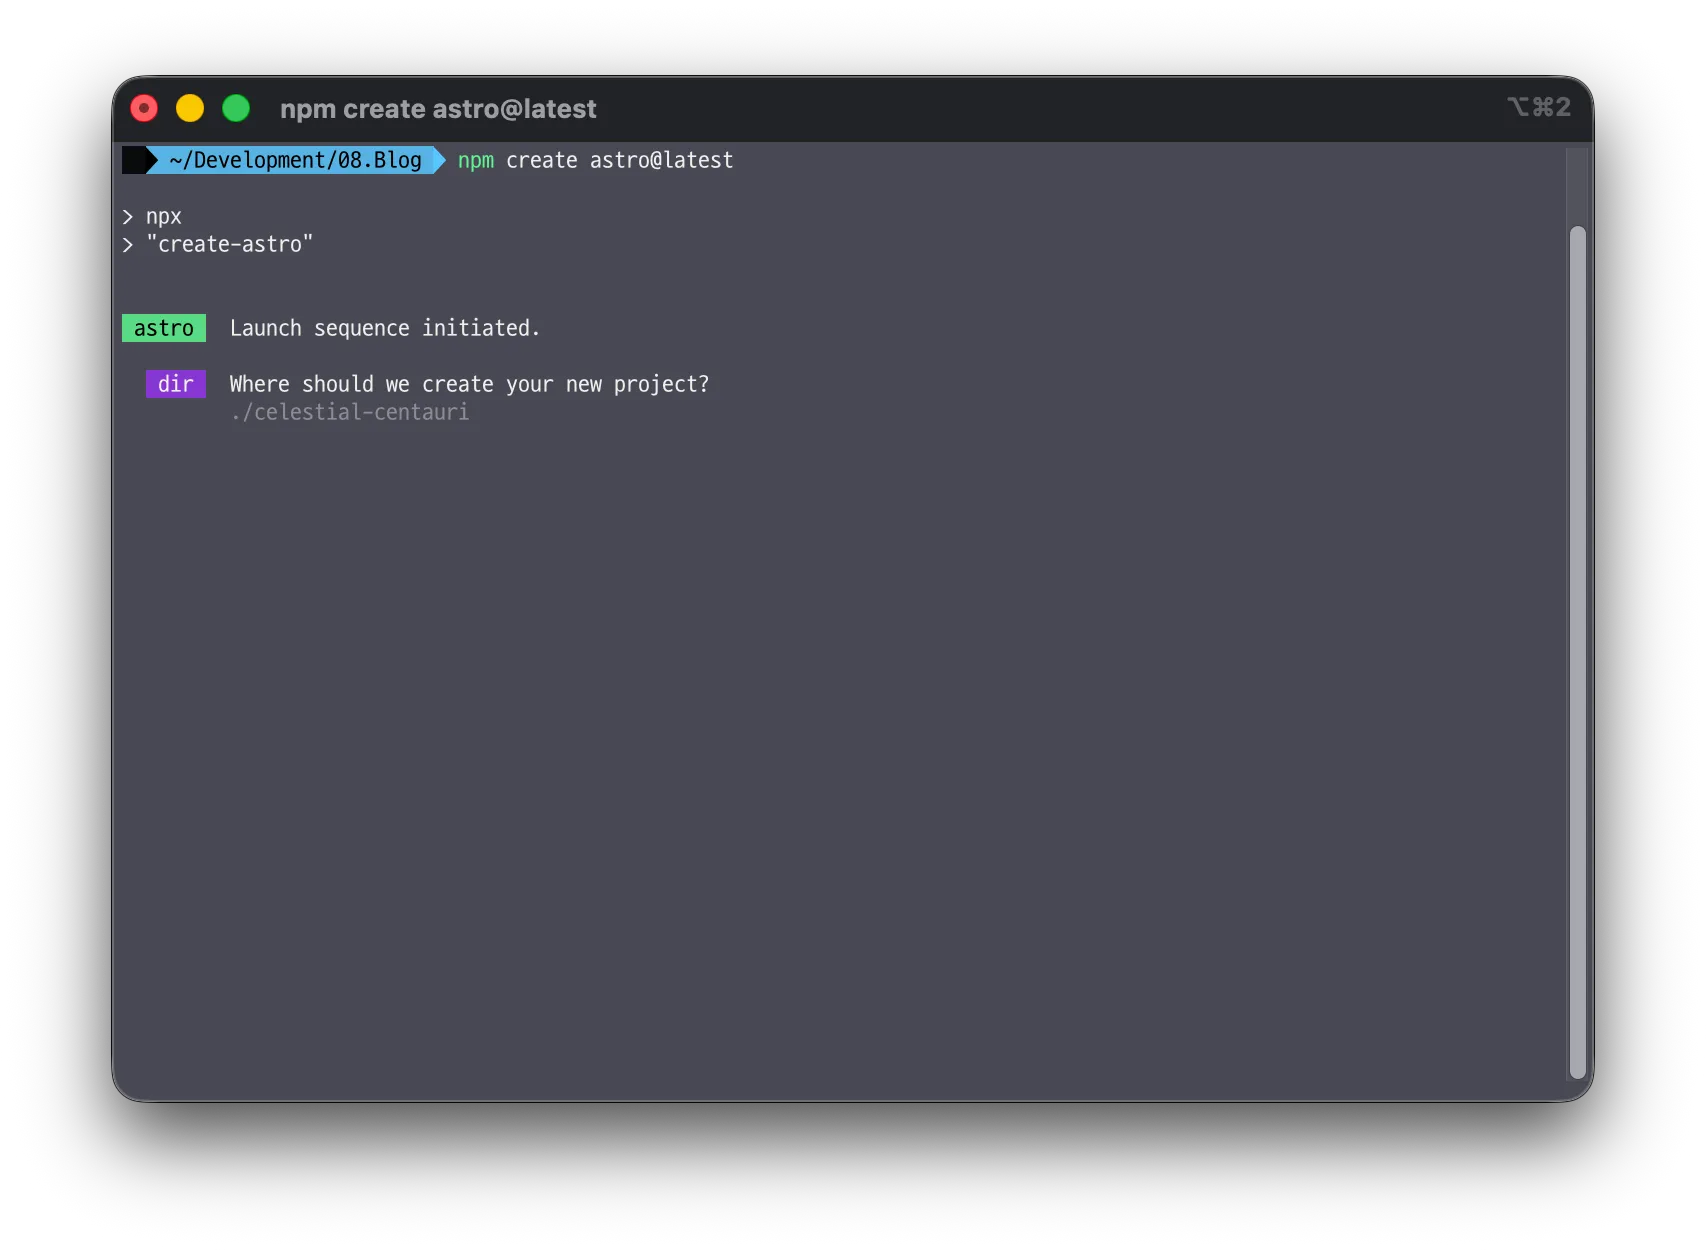 Once the install starts, you’ll see the message “Where should we create your new project?” It’s asking for the name of the directory to create the project in. I’ll just call it temp-blog.
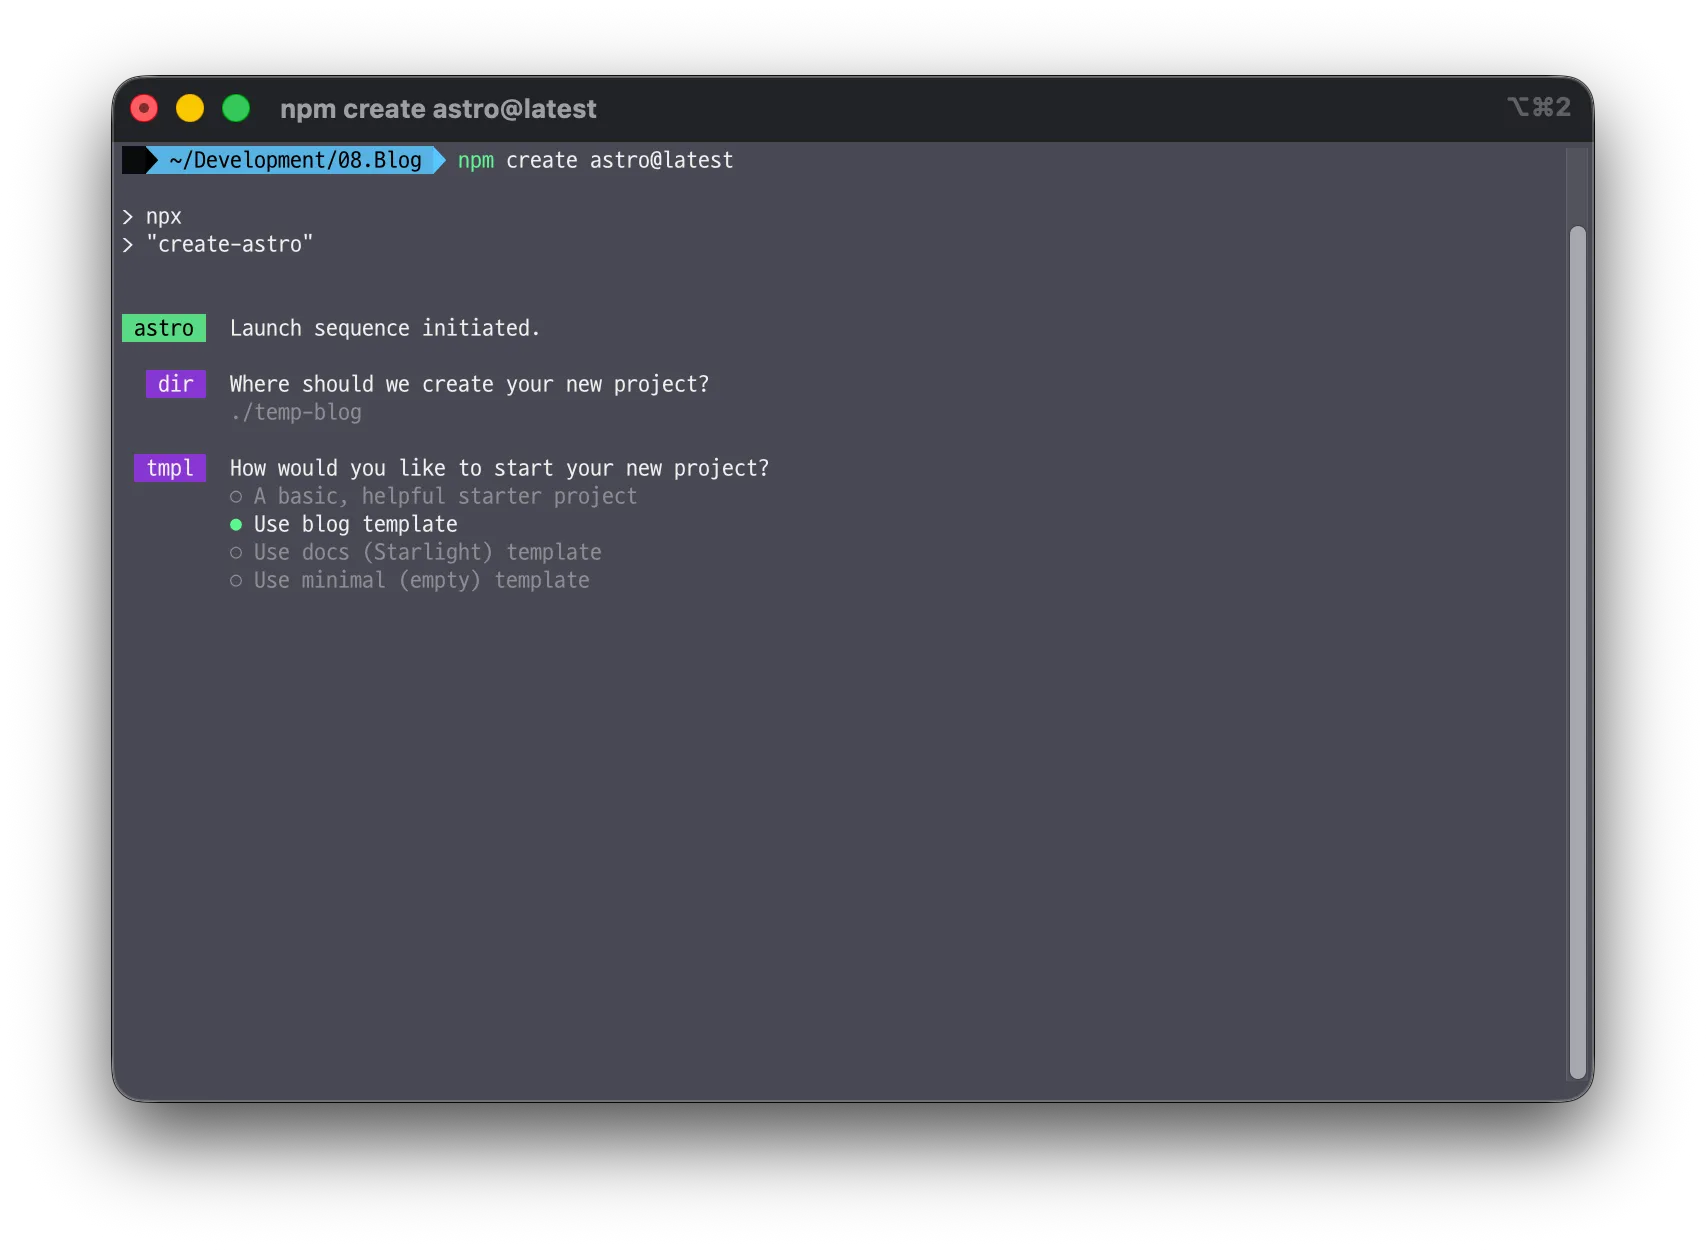 After you enter temp-blog, it asks how you’d like to start the project. Since I’m making a blog, I picked Use blog template. There are other options too, like a docs template or a minimal template, so just pick whichever fits what you want to build.
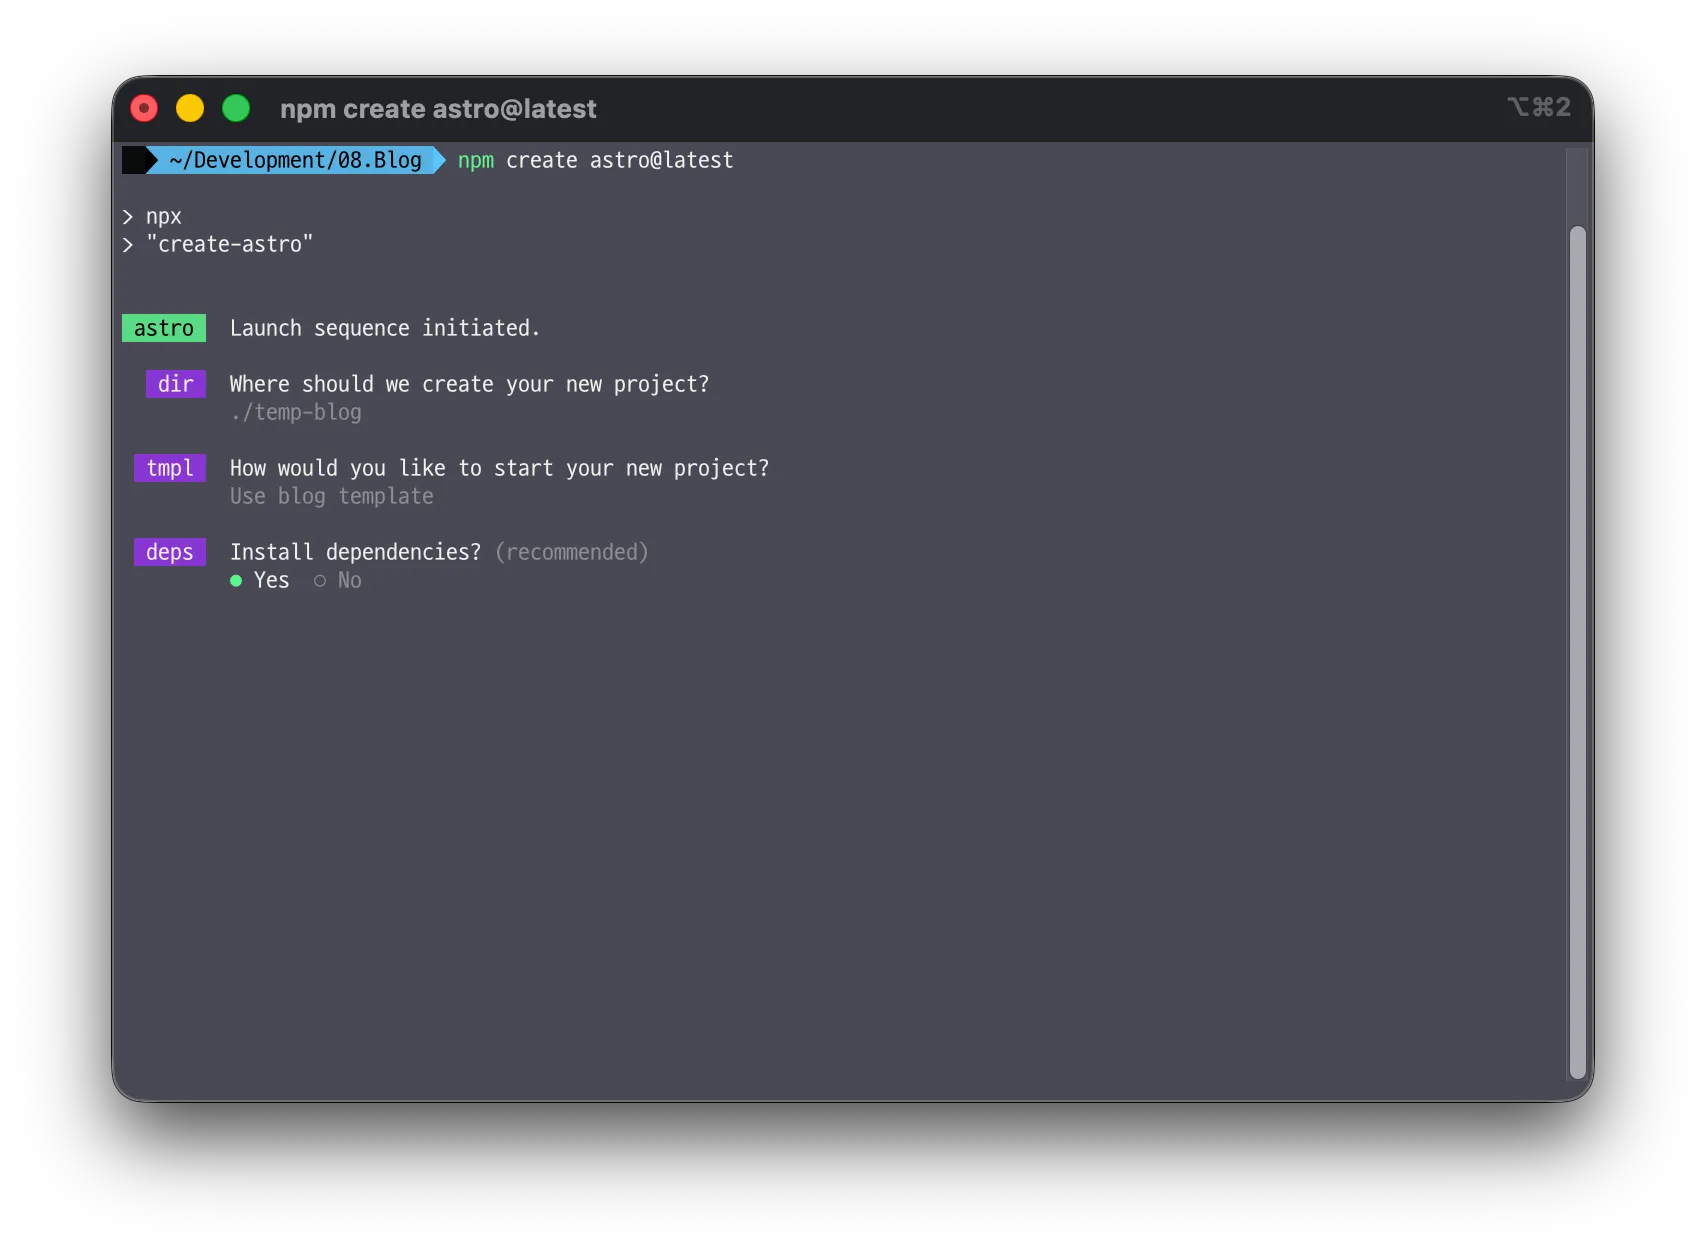 Next it asks whether to install dependencies. Astro comes with various third-party tools, React being a typical example. It’s asking whether you want to install those, and I said yes. If you picked “No,” don’t panic. Just move into the blog directory and run the command below.
# Install the packages listed in dependencies in package.jsonnpm install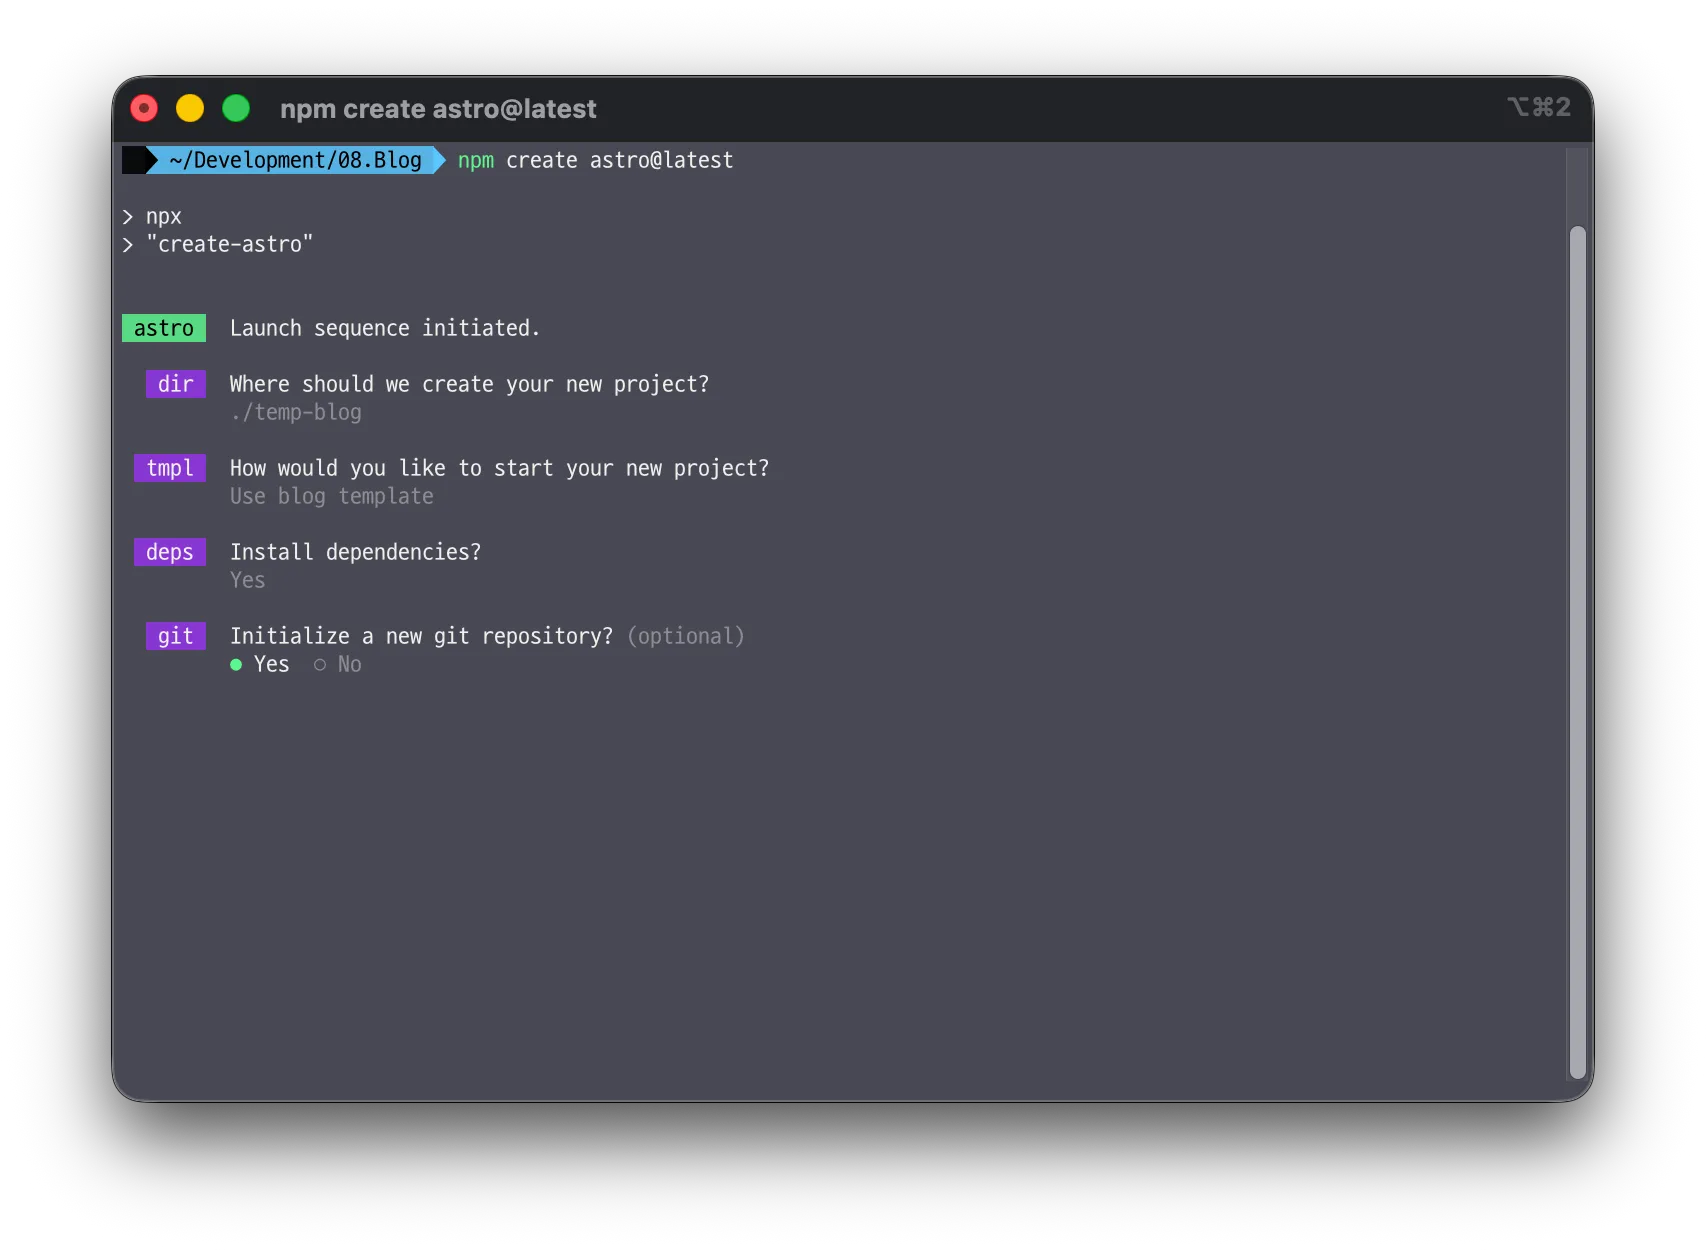 If Git isn’t installed, it won’t ask, but developers these days almost certainly have Git on their laptops, so you’ll see the question Initialize a new git repository? I wanted a setup where I write posts in Obsidian, push them to Git, and have Jenkins deploy them automatically, so of course I asked it to set up Git.
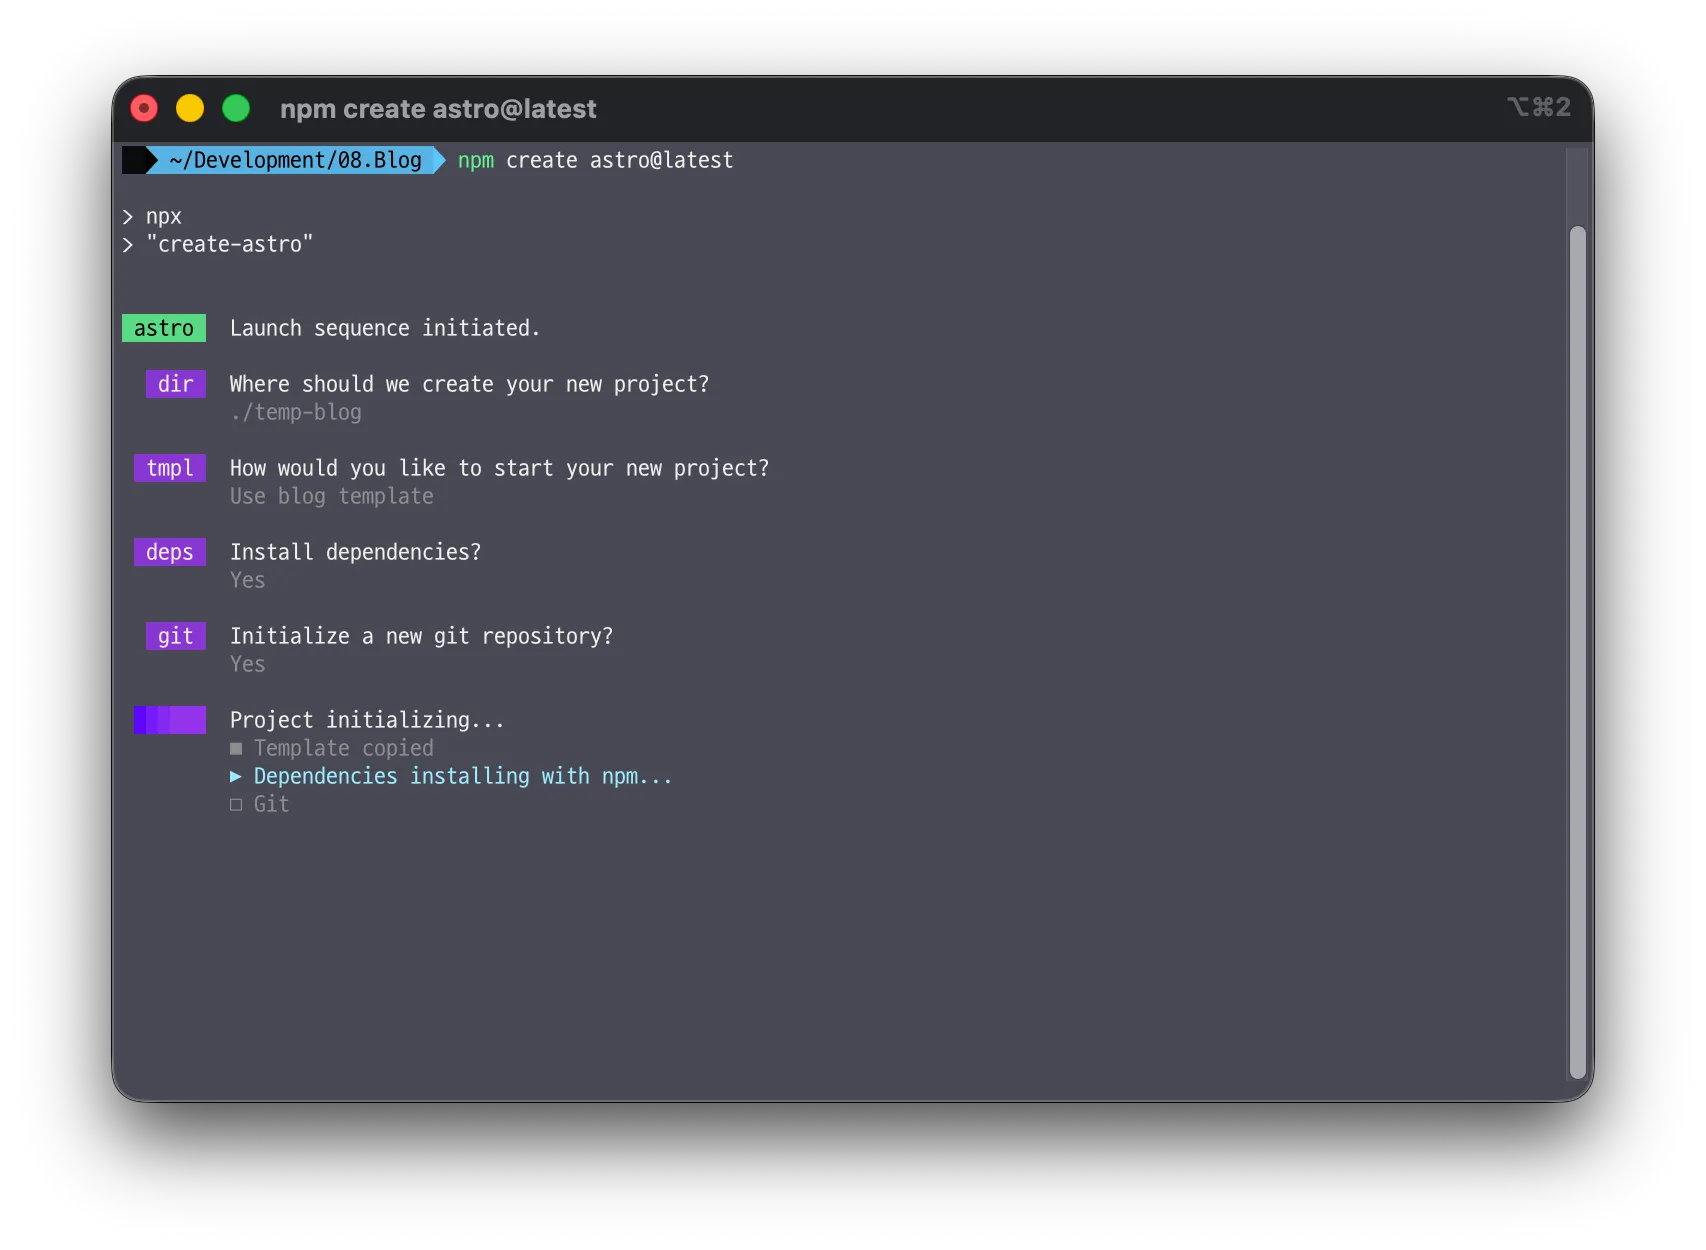 Once you’ve answered all the questions, the install begins.
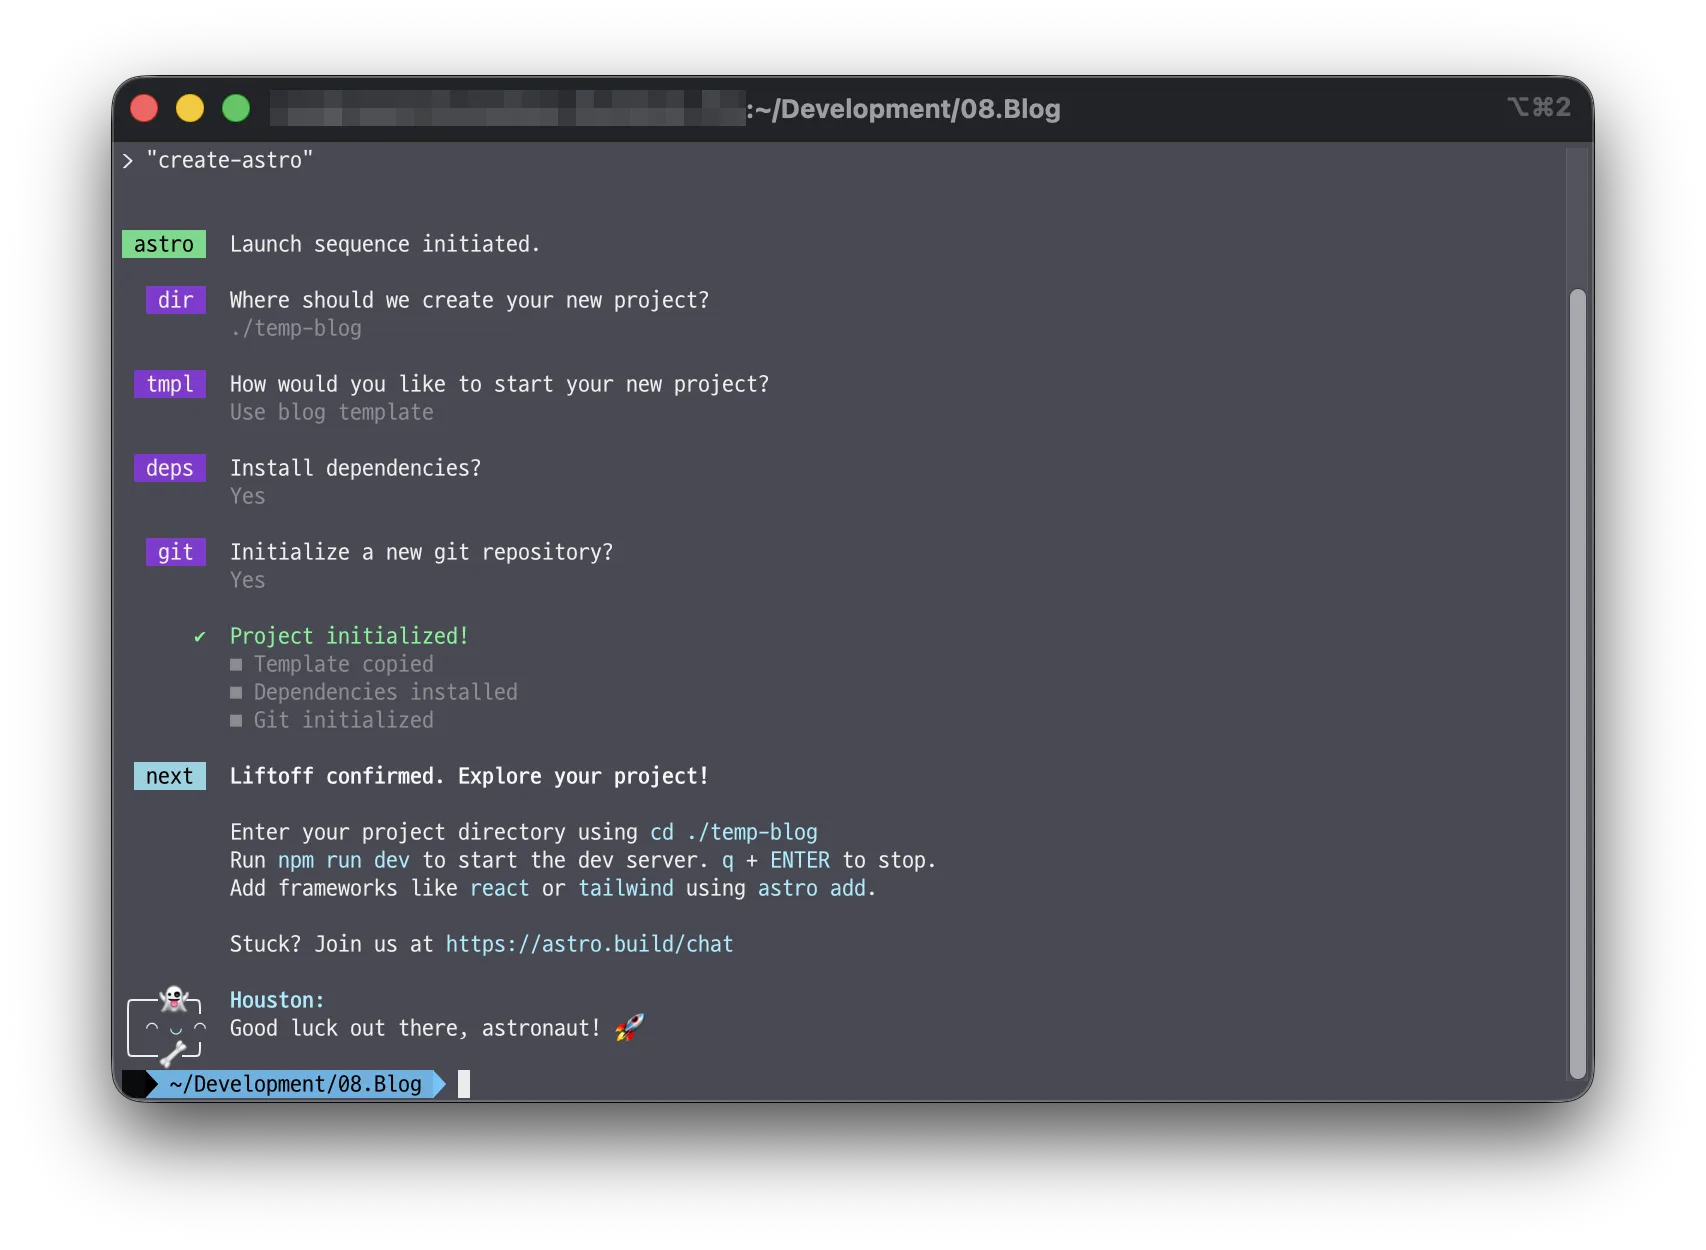 And before long, it says the install is done. It kindly tells you it was installed in temp-blog. So let’s run the freshly installed blog.
Step2. Launch the blog
cd ./temp-blognpm run devThis means move into the temp-blog directory and start the server with npm run dev.
If you entered the commands correctly, one after the other, you’ll see the server running.
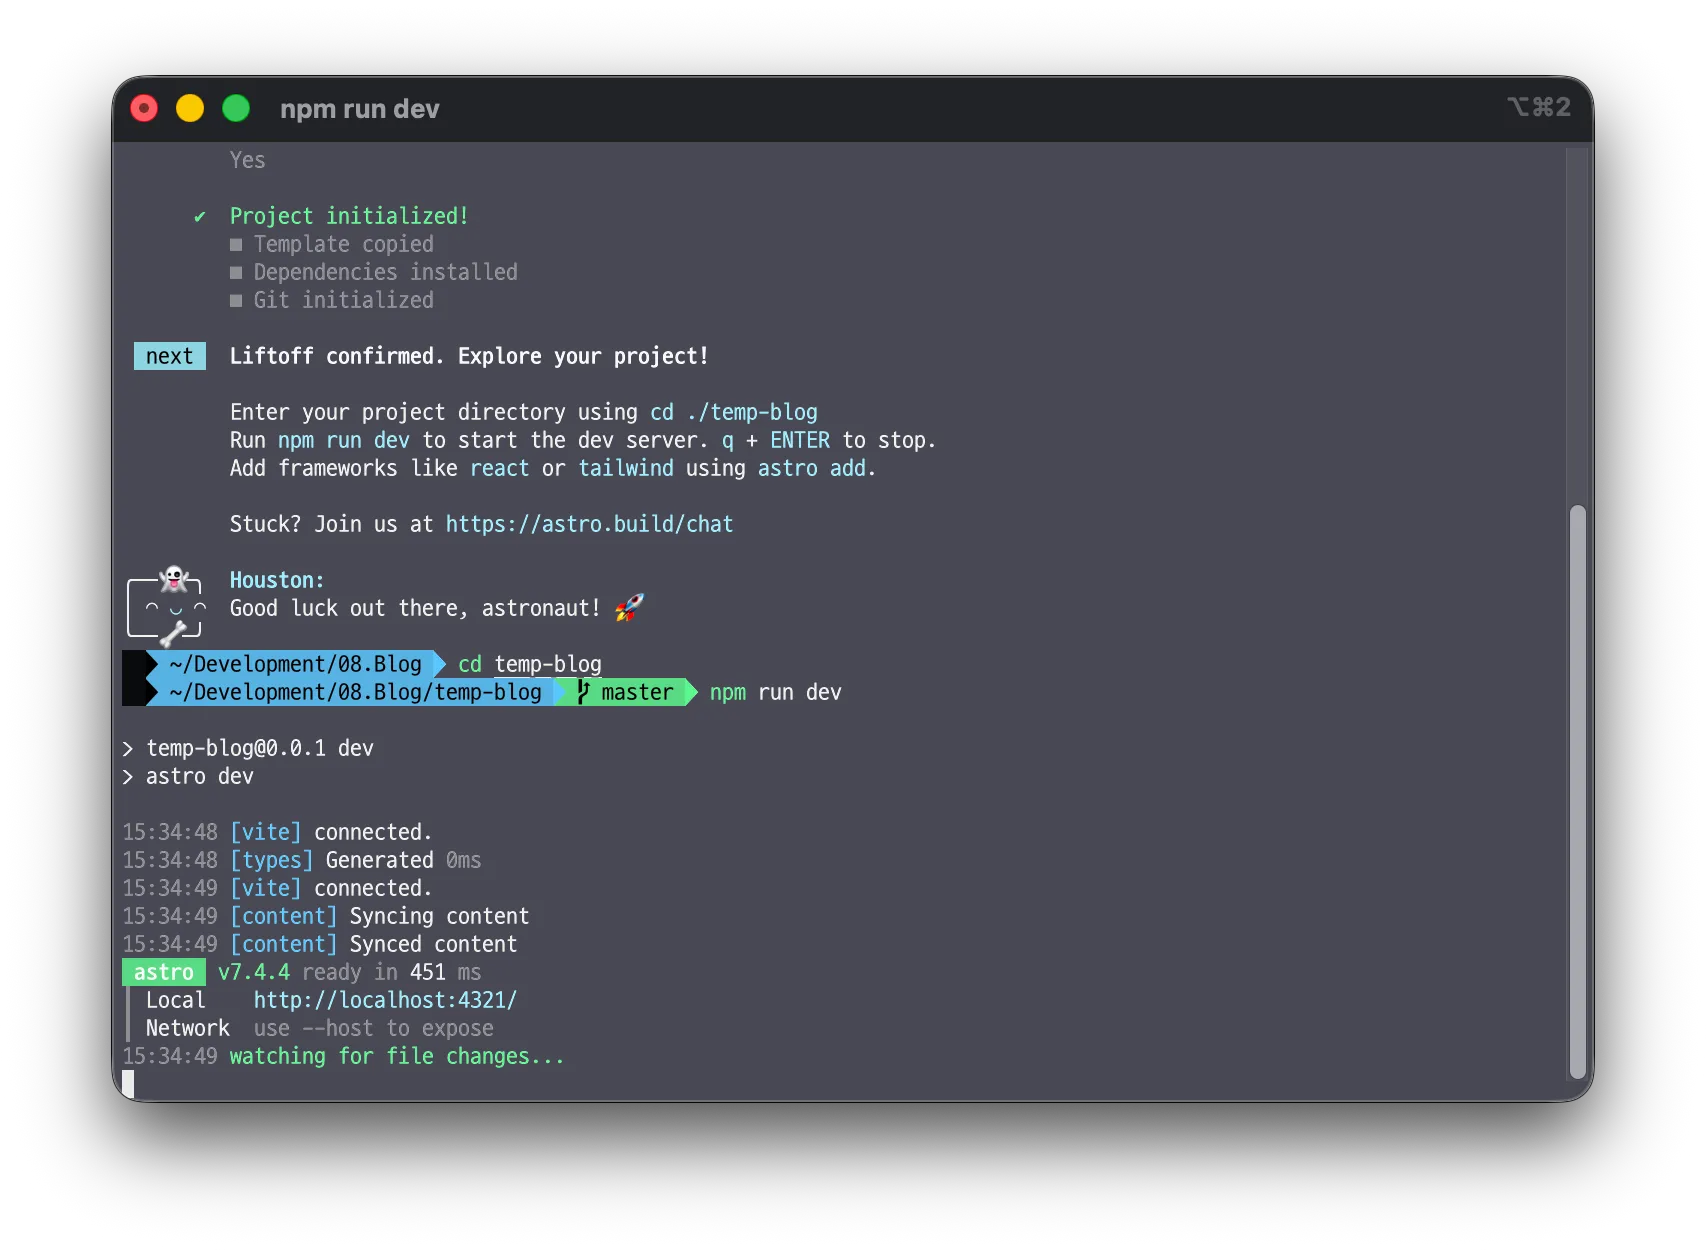 Once a stream of text scrolls by like this, type http://localhost:4321 into your browser’s address bar.
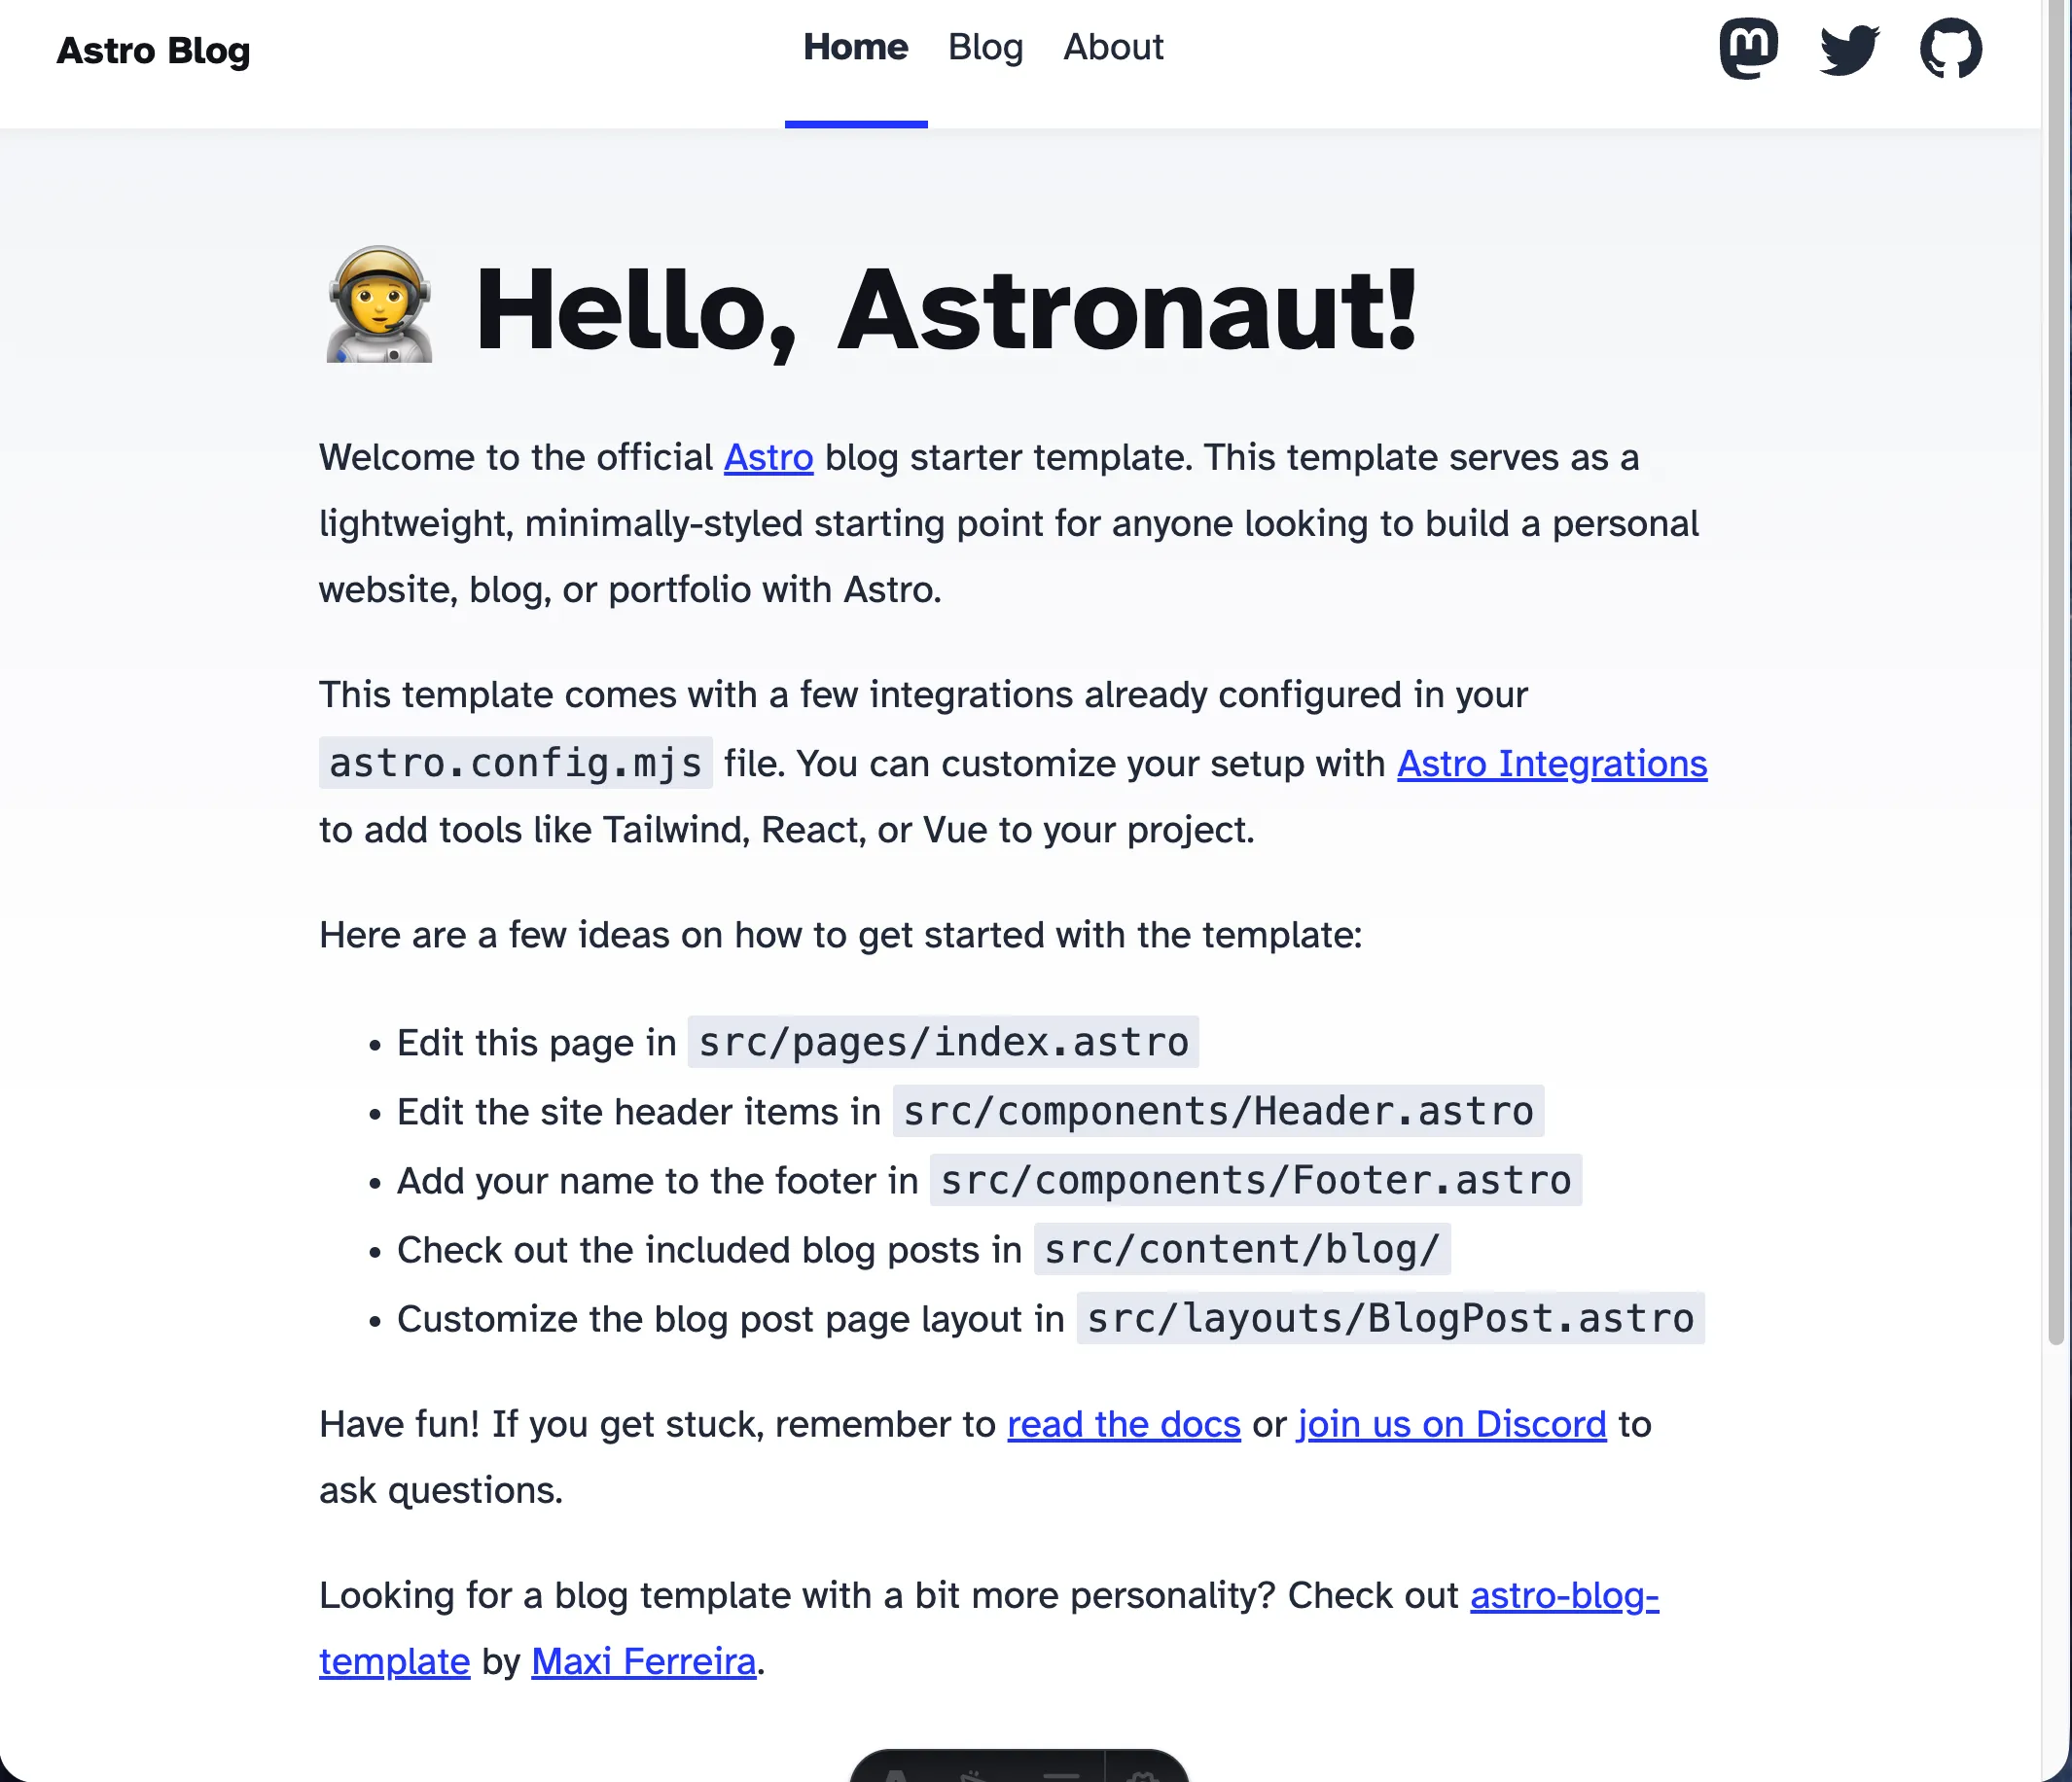
If you see a screen like this, your Astro blog is installed correctly.
Want an easier way to apply a template?
If you read the Astro installation docs, you’ll see there’s something called templates, and you might think using one would make setup easier. You can check out the template examples here, and if you open each example,
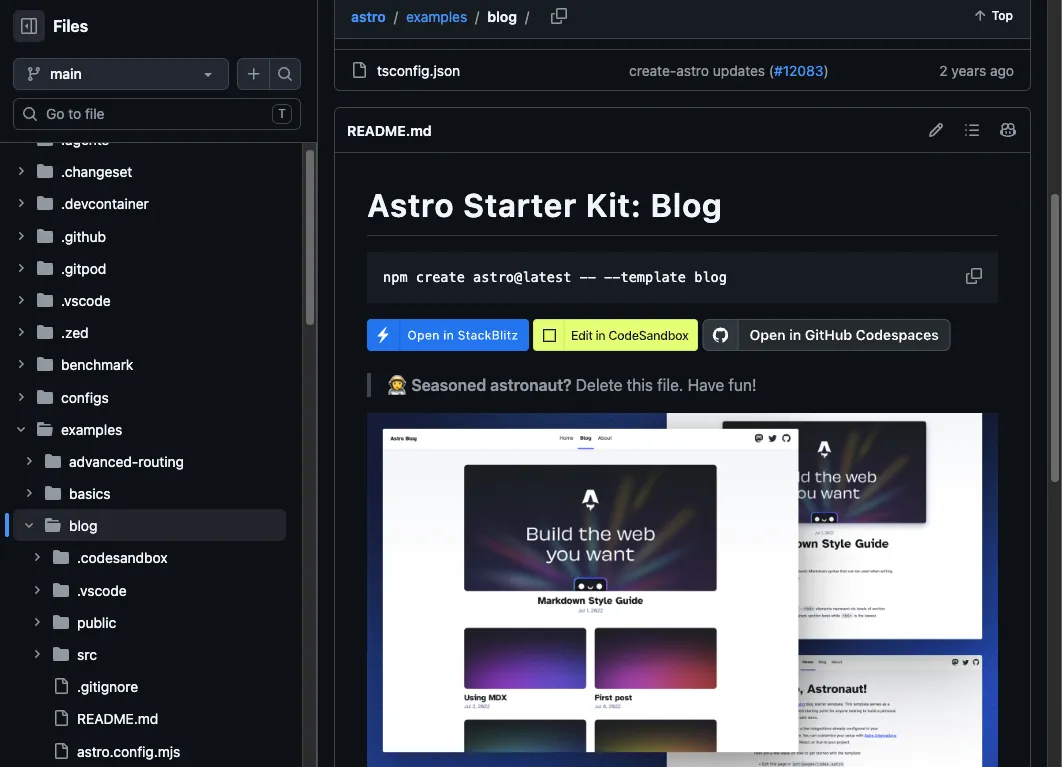
it introduces the example like this and explains how to apply it when creating a project.
Next time, let’s look at how to apply a theme. Bye!

Loading comments...