 THEREiS
Title :
Building an Astro Blog #1 - Why Astro
This post is translated from the Korean original. Read in Korean →
When I made up my mind to start blogging again, the first question was “Where do I write?”
There were plenty of options, from self-hosted blogs to all kinds of blogging platforms, but what I wanted was simple. Write comfortably, manage things my own way, and spend as little money as possible. After weighing everything, the one I finally picked was Astro.
The first story in this Astro blog series is about “Why Astro, of all things?”
1. I can write in Markdown

If you ask a developer to name the document format they know best, it’s Markdown, hands down. READMEs are Markdown, meeting notes are Markdown, personal memos are Markdown.
With a feature called Content Collections, Astro can use Markdown files directly as content. Toss a single .md file into the src/content/blog folder and it becomes a blog post. Meta information like the title, date, and tags goes in the frontmatter at the top, and that’s it.
Typing plain text in a syntax my hands already know is far easier than clicking an editor’s formatting buttons here and there. Above all, I liked that my posts aren’t tied to any particular platform and stay as plain text files.
2. Write in Obsidian, manage with Git
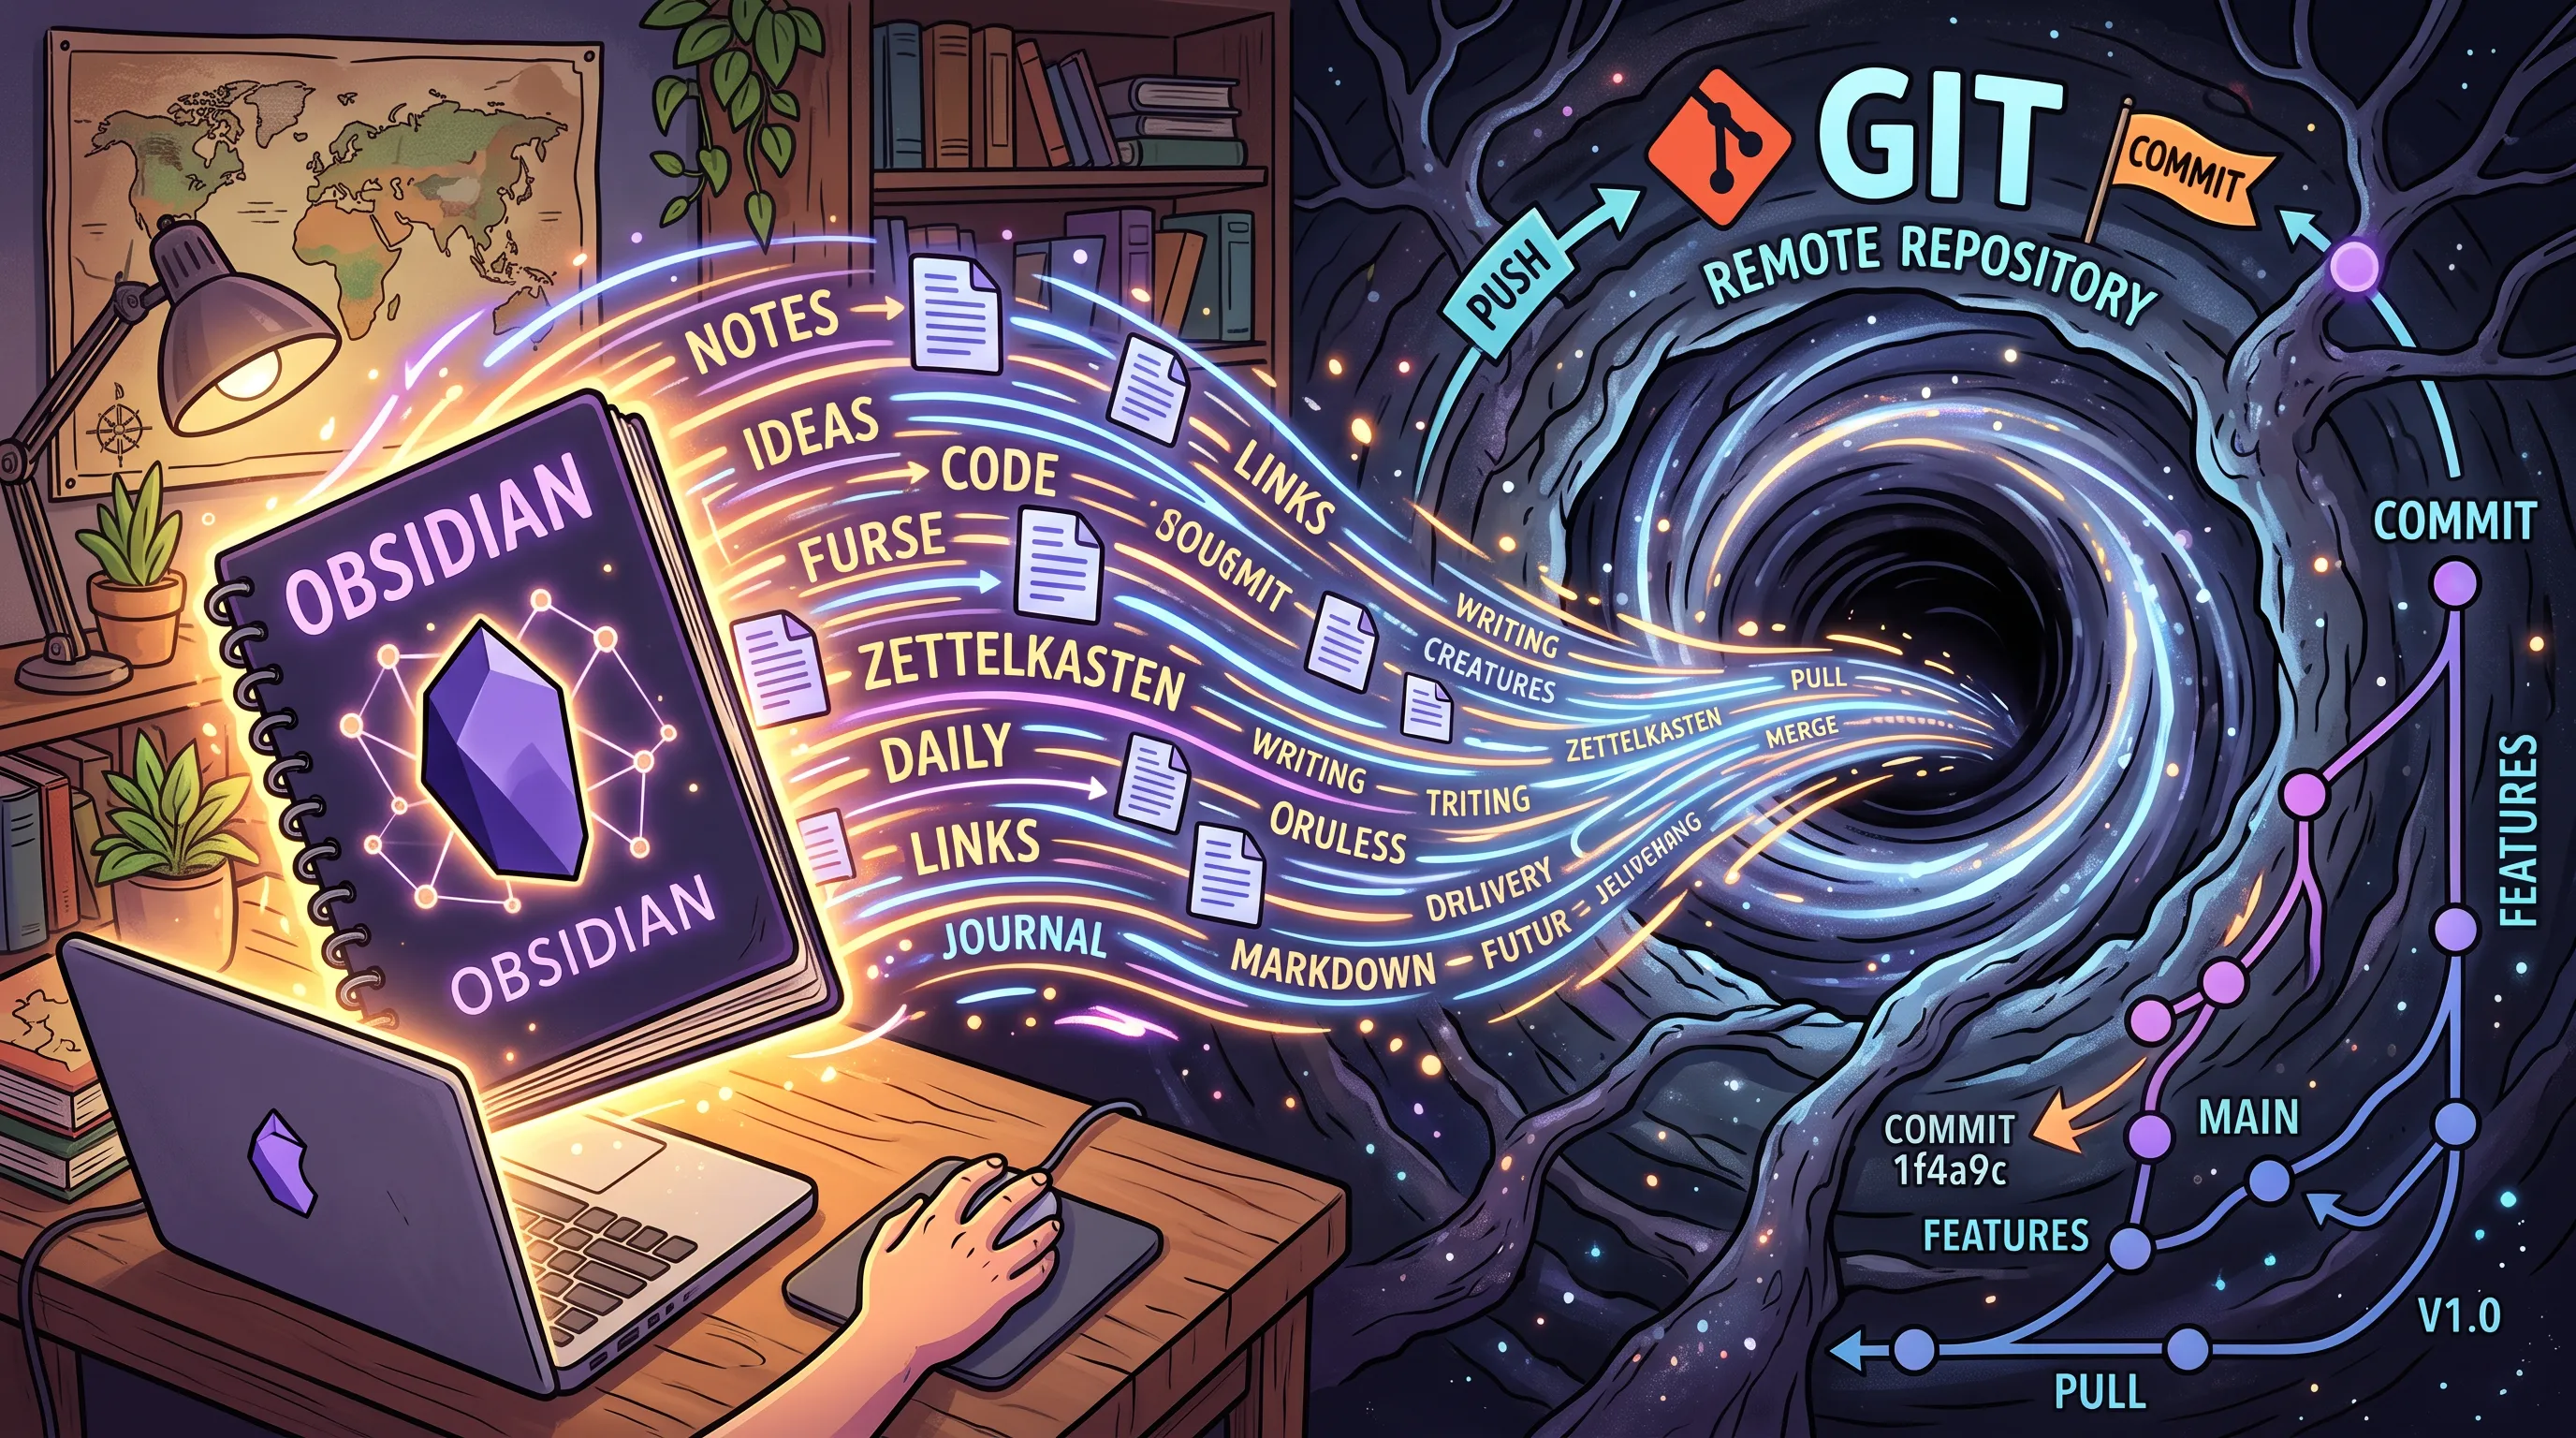
Being able to write in Markdown also means being able to write in Obsidian.
I was already using Obsidian for notes and organizing, so if I could write blog posts in the same tool, I’d never have to log in to a blog admin page. Open the blog’s src/content/blog folder as an Obsidian vault, and Obsidian becomes the blog’s post editor as is.
Install Obsidian’s Git plugin on top of that, and it gets even easier.
- Write a post
- Commit and push with the Git plugin
- Done
Git naturally takes care of version control, and even if I wreck a post, I can bring it back from the history. My blog posts are managed just like code.
3. Easy to deploy with Jenkins
Once posts are in a Git repository, the next step is deployment.
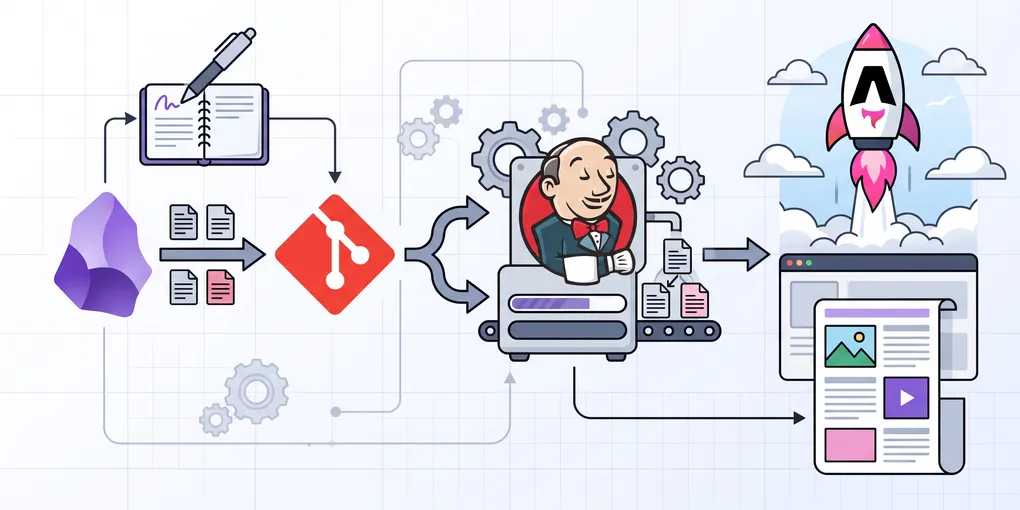
Astro spits out a bundle of static files with a single npm run build. The build output lands in one dist folder, so all I have to do is upload it to a server. That simplicity makes setting up a Jenkins pipeline very easy.
- A push happens to the Git repository
- Jenkins detects it and runs the build
- The build output is deployed to the web server
In the end, all I do is write in Obsidian, commit, and push, and a few minutes later the post is up on the blog. Everything except the writing is automated. I’ll cover how I set up this pipeline in detail later in the series.
4. The output is just HTML and JavaScript, so it’s cheap
The last and, honestly, the most important reason. It’s cheap.
As I grumbled in my previous post, AI subscriptions alone take a decent chunk out of my wallet every month these days. I can’t go splurging on server costs just to run a blog.
By default, Astro builds every page into static HTML at build time. On top of that, it defaults to a “Zero JS” approach that ships no JavaScript at all unless it’s truly needed. Since the output is nothing but static files like HTML, CSS, and JavaScript, the server doesn’t have to compute anything per request. And even if it gets hacked, there’s no data to steal.
- No database needed
- No application server needed
- All it needs is something that can serve static files
In other words, it barely needs any server power. It runs fine on a very small server, and the cost drops accordingly. For someone preaching “budget development,” there couldn’t be a better deal.
Wrapping up
To sum up, here’s why I chose Astro.
- I can write posts in Markdown
- I can write in Obsidian and manage everything with the Git plugin
- It’s easy to build a deployment pipeline with Jenkins
- The output is only static files, so server costs are low
Easy to write, easy to manage, easy to deploy, and cheap.
In the next post, I’ll walk through actually creating the Astro project and setting up the skeleton of the blog.
Loading comments...