 THEREiS
Title :
3D Modeling with Meshy AI #2 - Building the Screens with PySide6
This page was translated from the Korean original using AI. If anything reads oddly, please refer to the original. Read the Korean original →
In the last post, I set up a Python development environment and installed the packages we need. Now let’s build the screens. But… how?
My UI experience is pretty much limited to HTML and Javascript. Sure, 15 years ago I built Flash UIs with Action Script, and back when I was an instructor I made some example GUIs with Python Qt, but that’s about it, so I had no idea where to start. Then, while reading through the docs on the PySide site, I found a breakthrough!!

First, install the Qt Python extension in VS Code. The PySide website recommends it too.
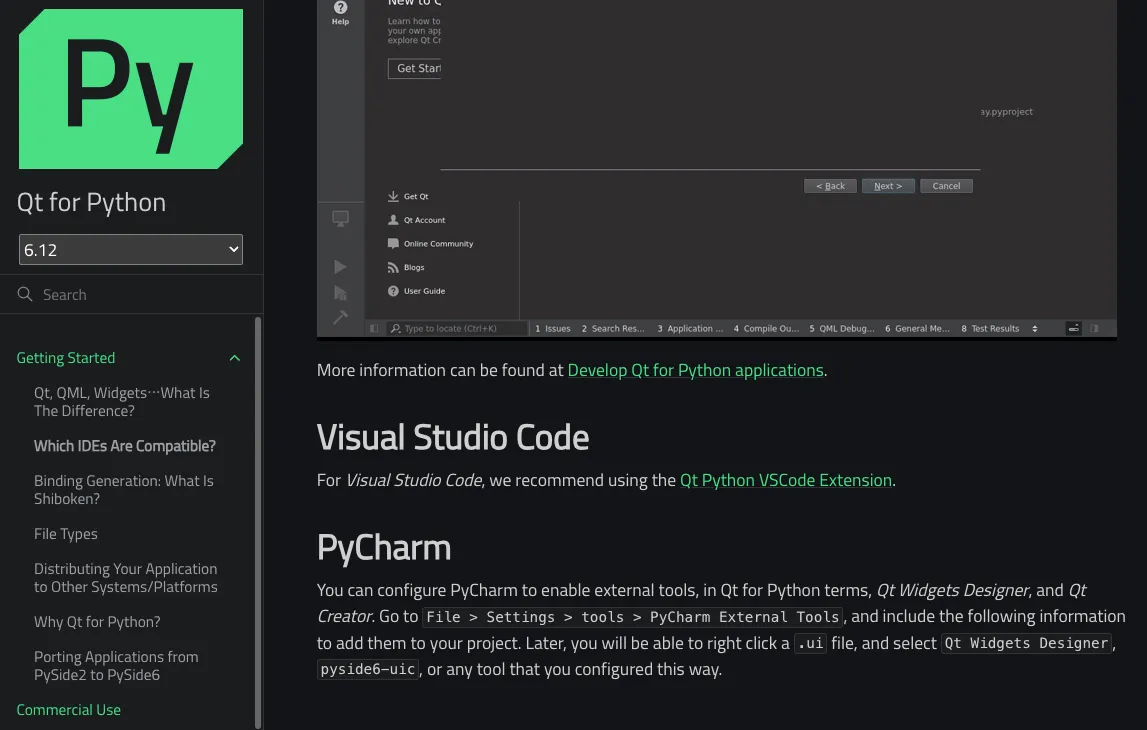
So search for the extension and install it.
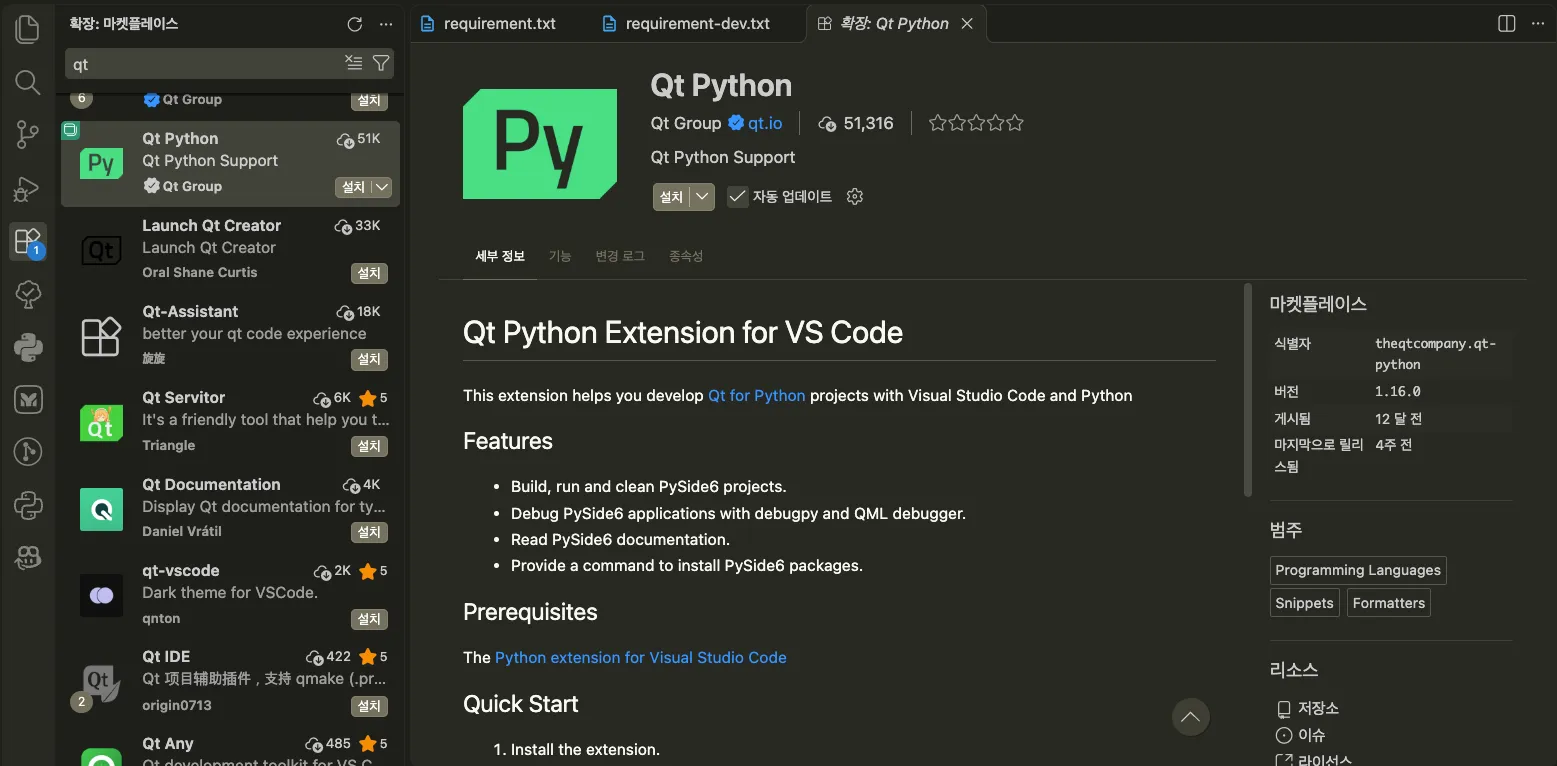
One thing to watch out for: it’s Qt Python, not Qt For Python. I almost got fooled.
But, well… after installing it and looking around, there isn’t much to it. It just makes creating files and projects a bit easier, I guess?
The more important thing is that there’s a tool called PySide designer.
(.venv) pyside6-designerIf you installed the pyside6 package inside your virtual environment, pyside6-designer comes installed automatically. Type that into the console and!
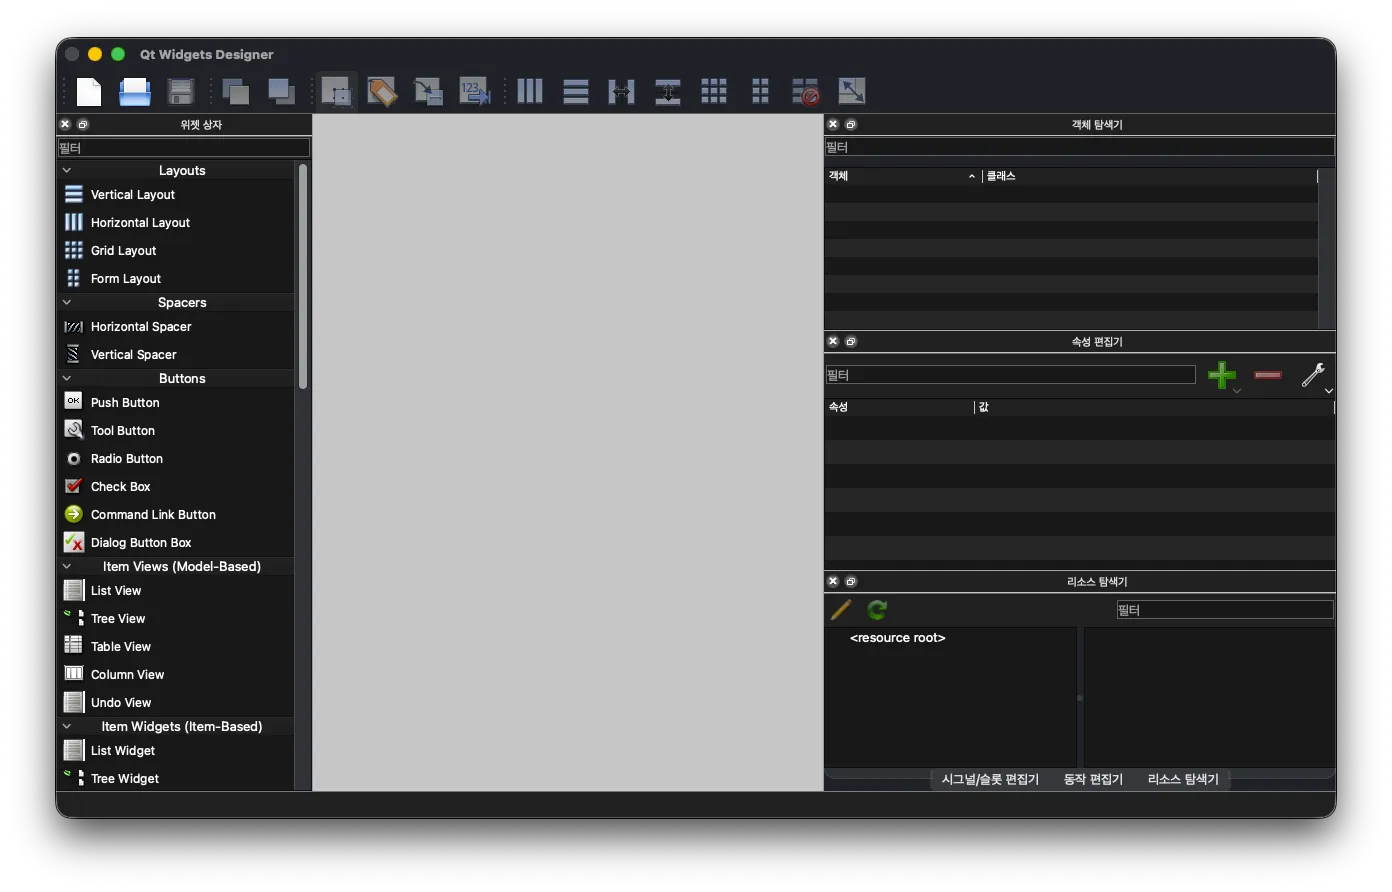
You get a design tool, just like that. Oh my goodness.

So let’s use this to try out some designs.
Creating the Main Window
Creating the main window itself isn’t hard at all.
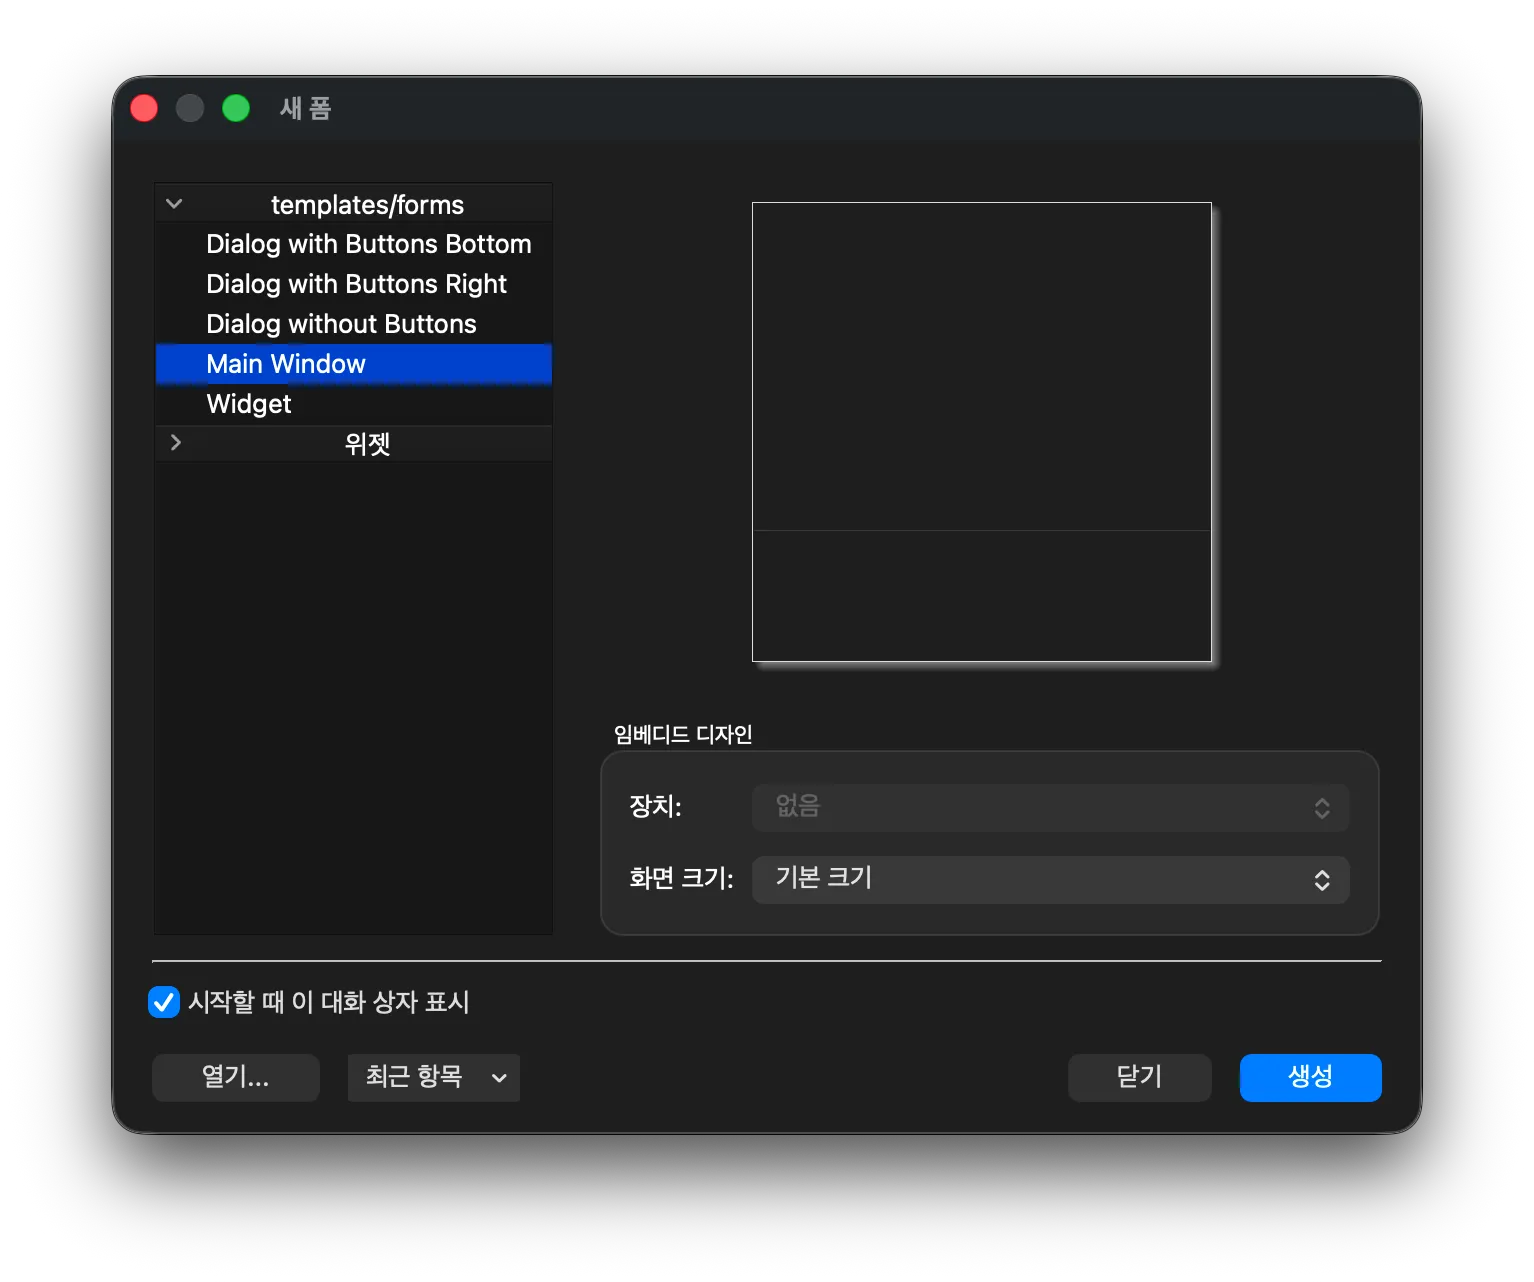 Just select
Main Window in this dialog and click Create.
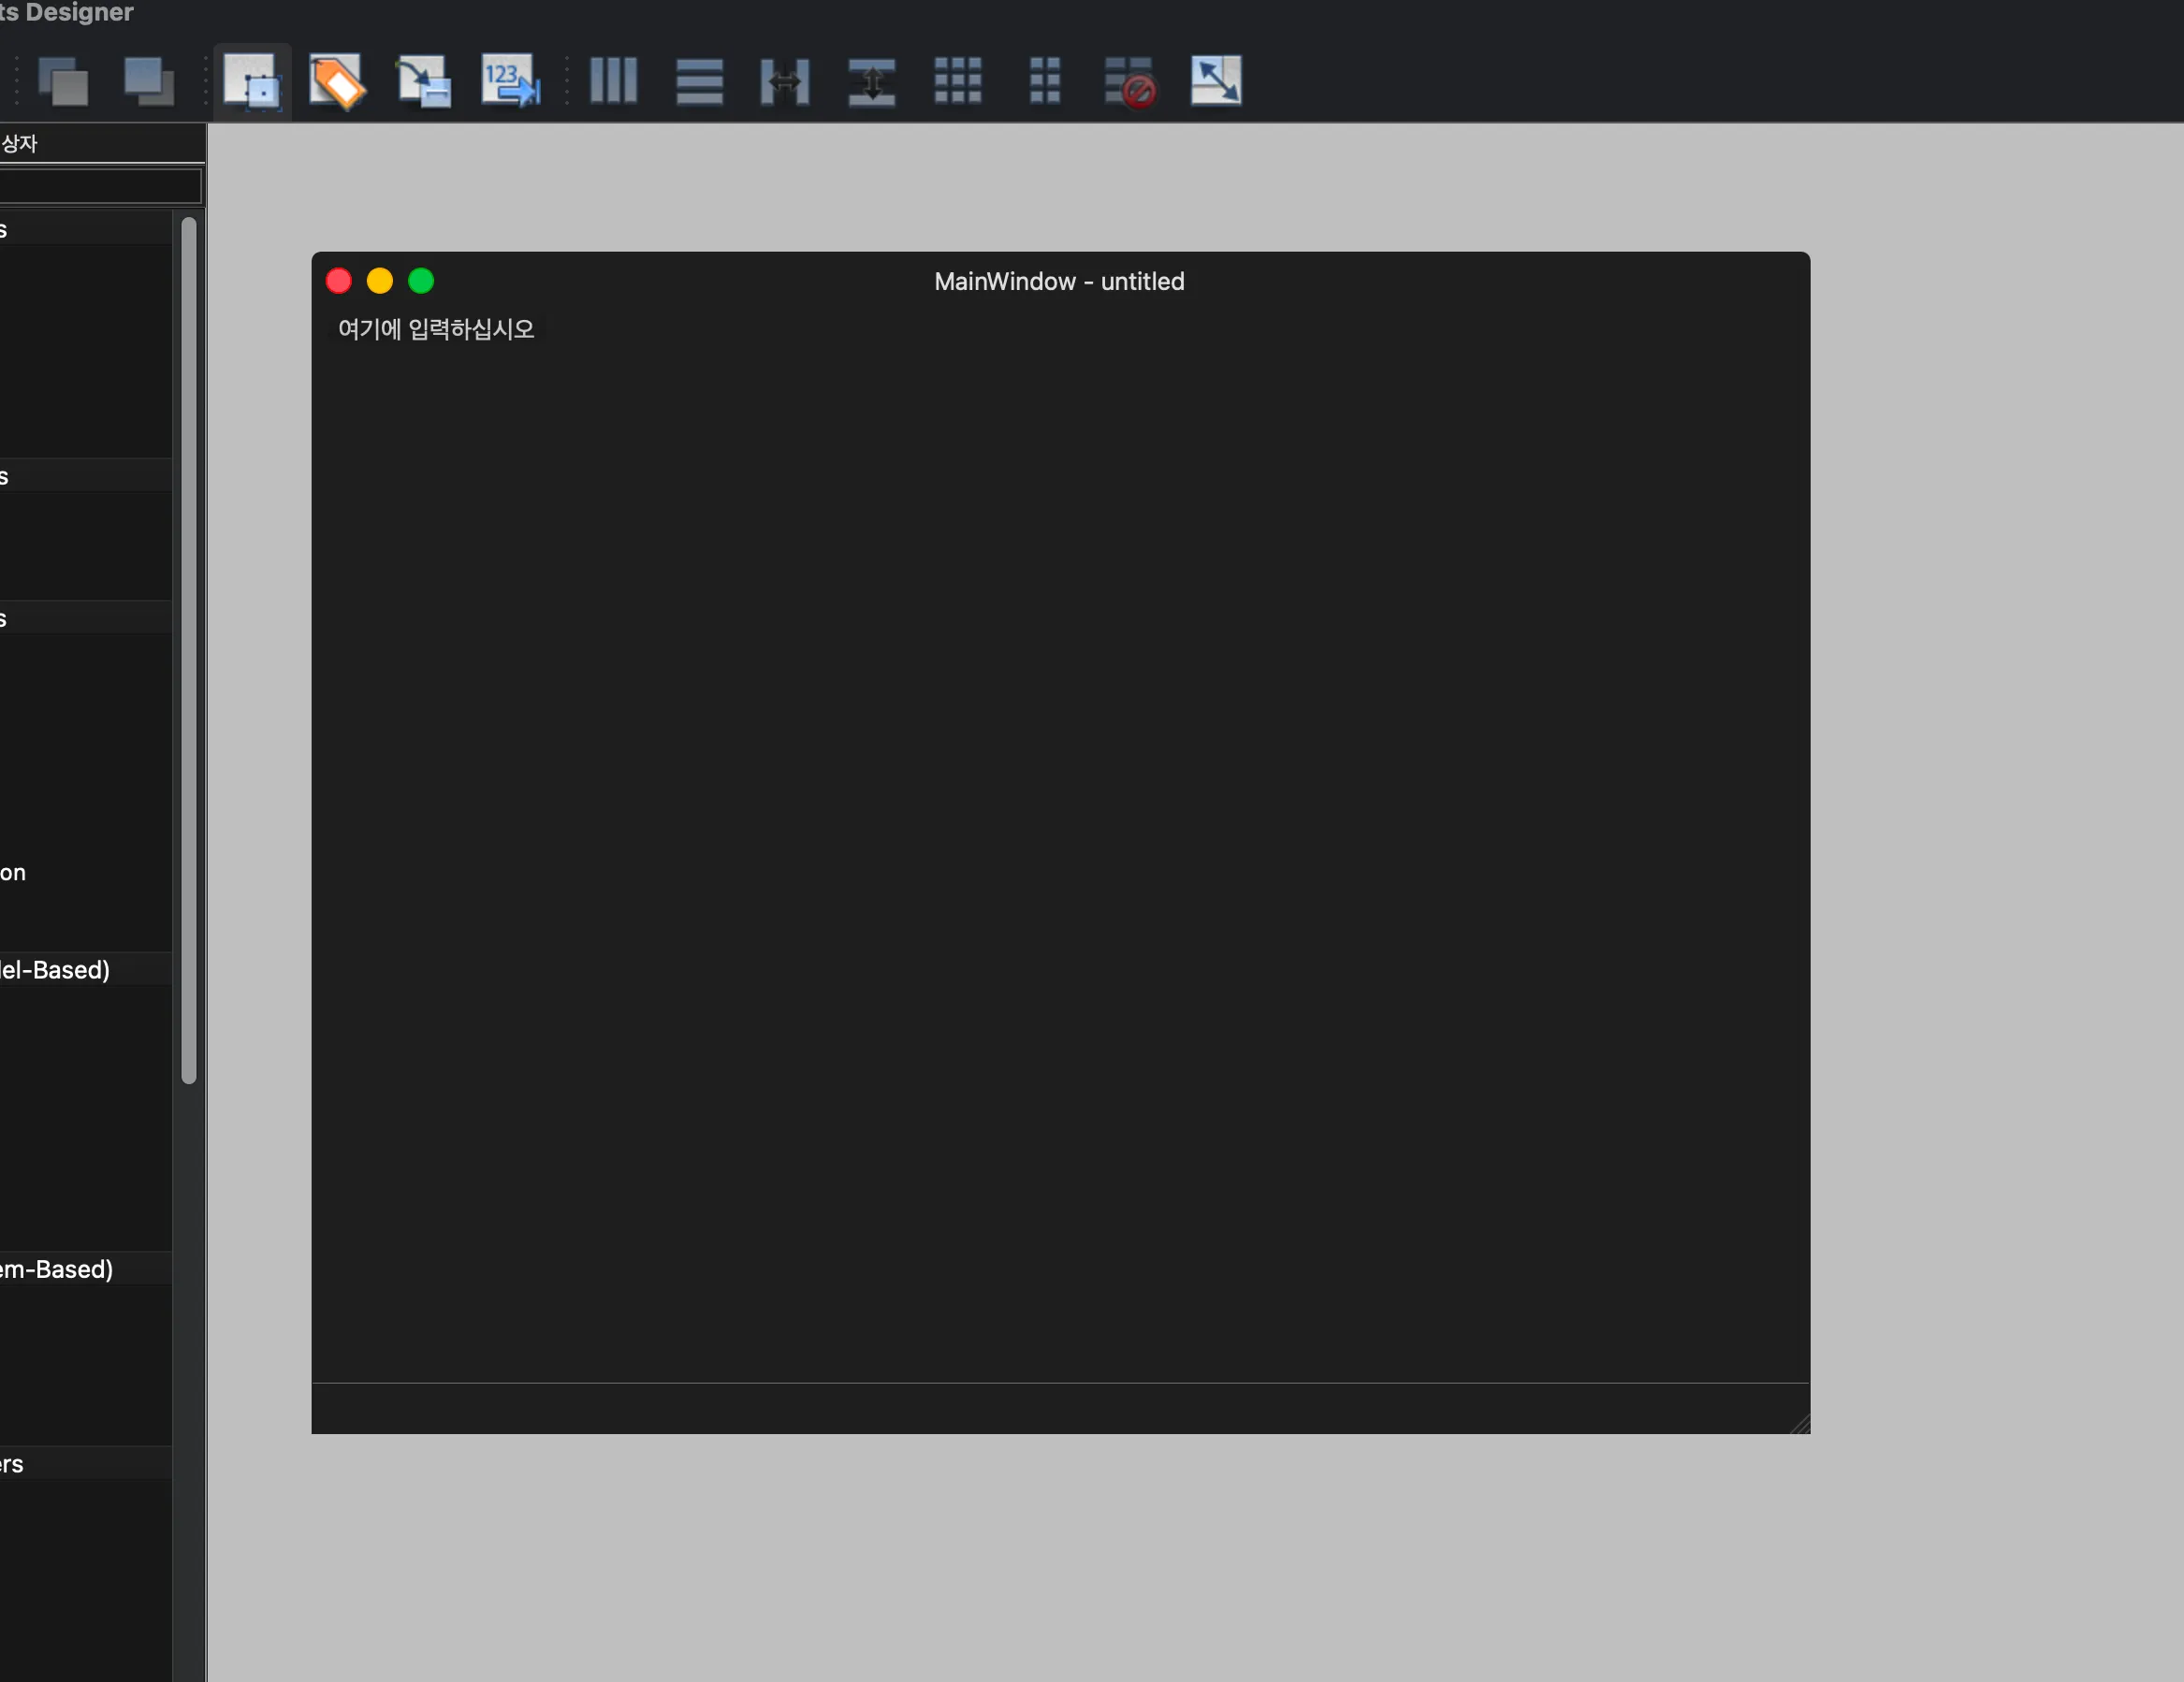
That gives you a basic window like this, and you build your screens on top of it.
When you save your work, it creates a filename.ui file. Let’s say I made something like this.
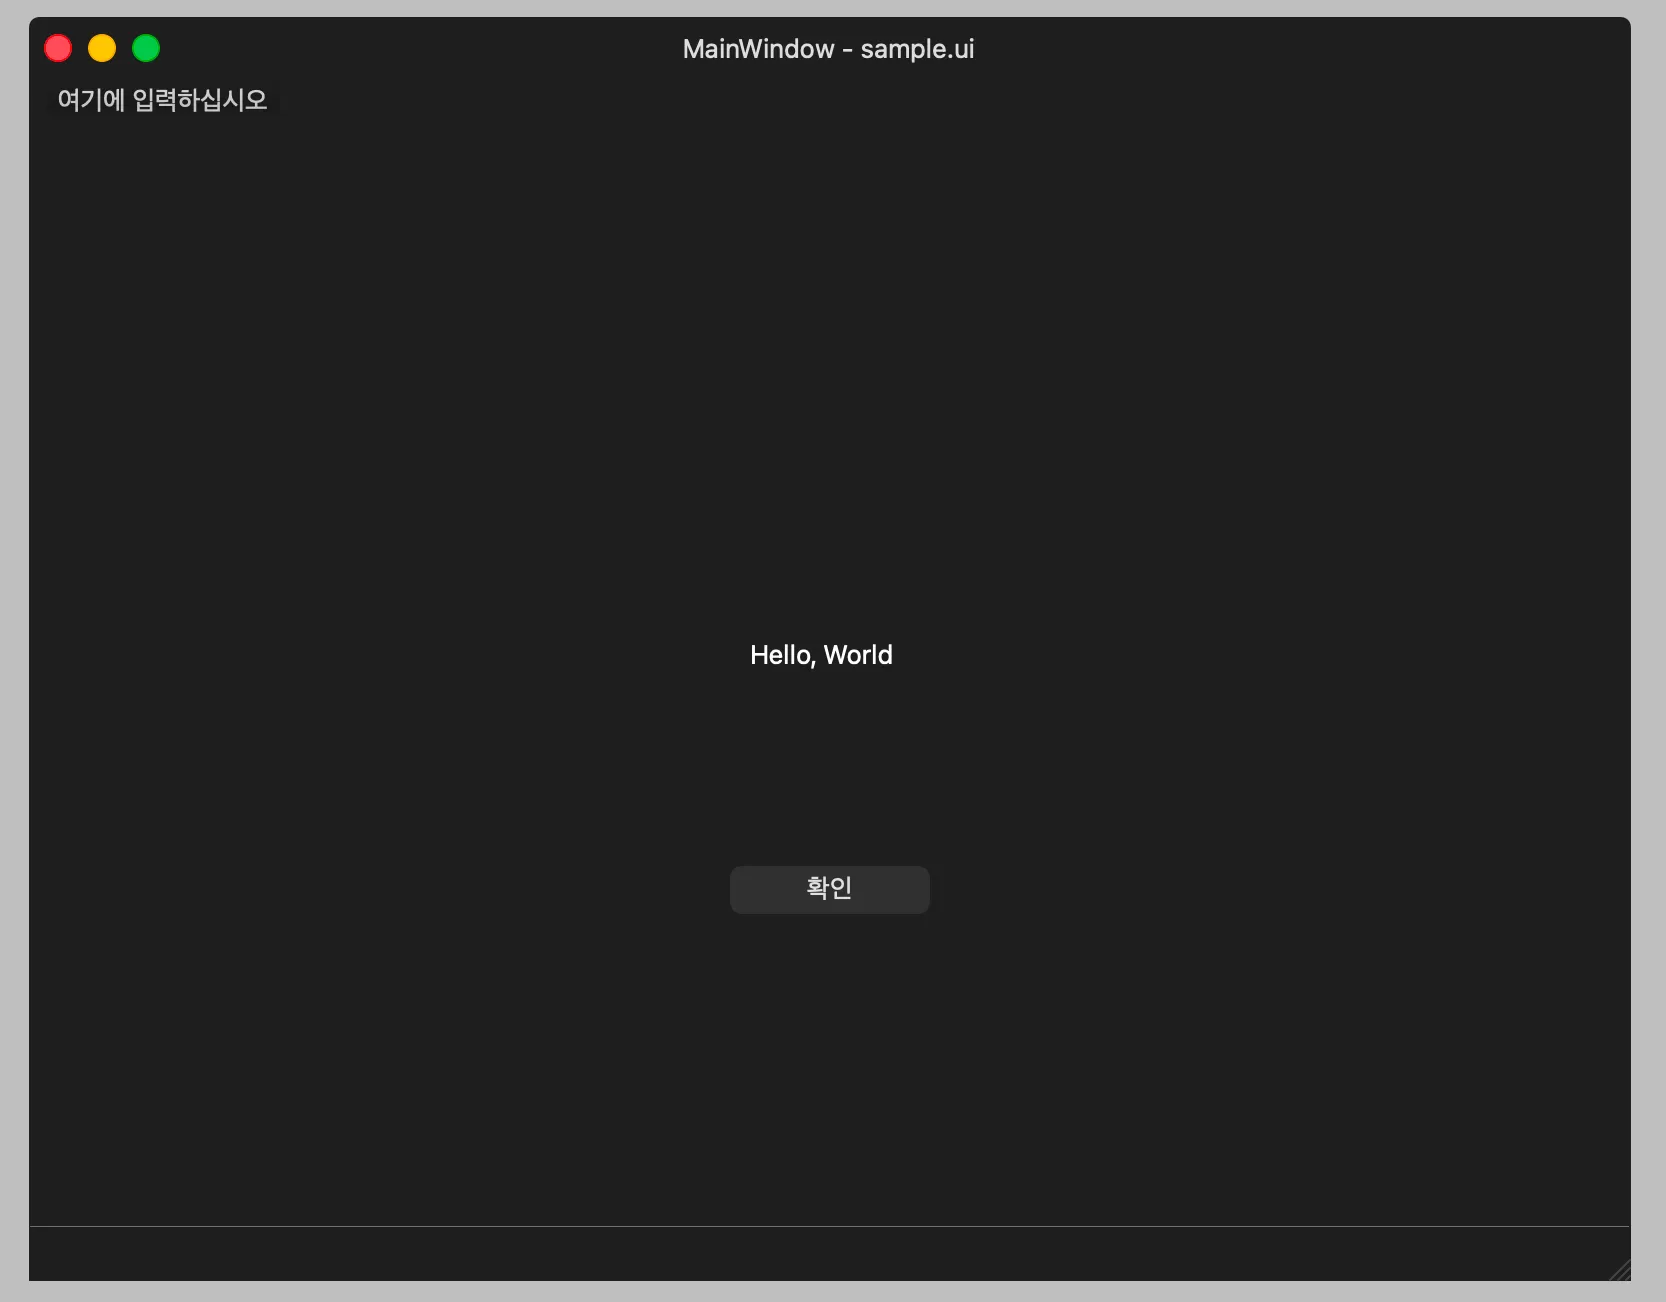
I saved it as sample.ui. Then if you open the file,
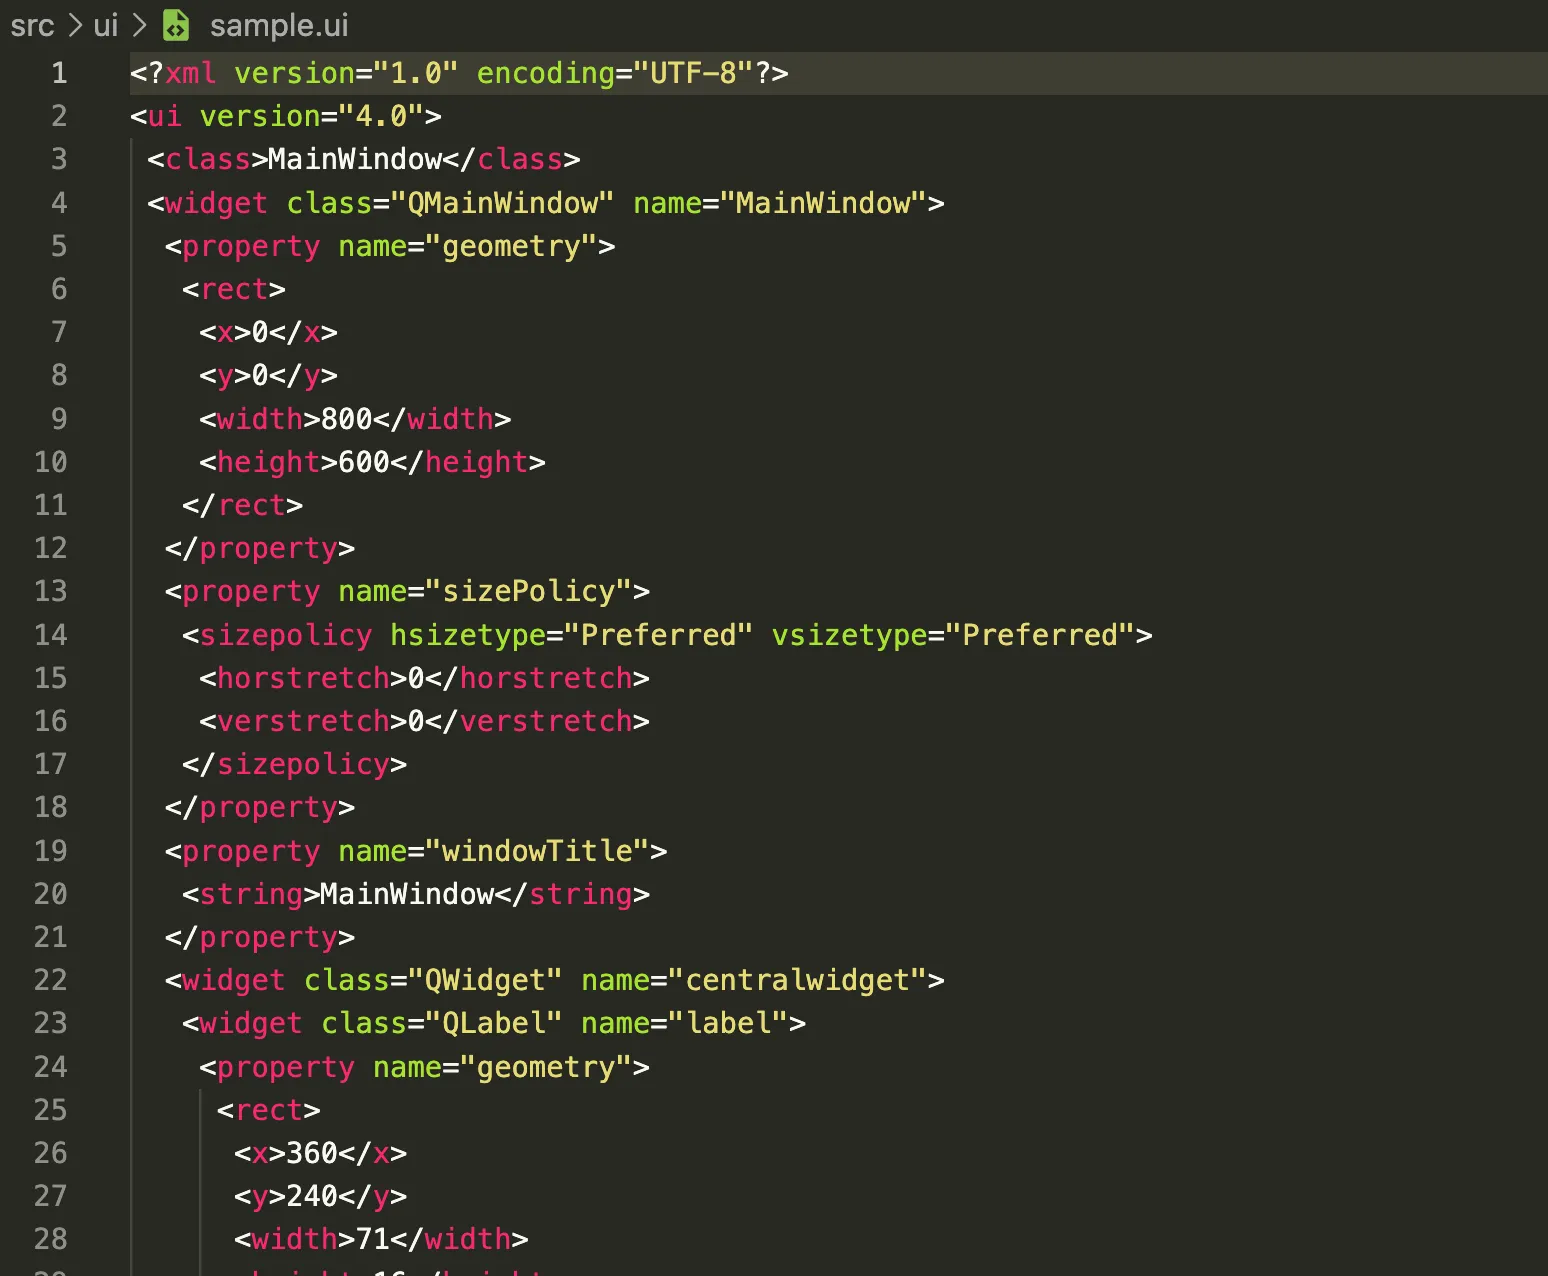
you can see it’s written in XML. You can’t use it as is. You need to convert this ui file into Python code with pyside6-uic, using the command below.
(.venv) pyside6-uic src/ui/sample.ui -o src/ui/sample.pyRun that command and you’ll see the ui file converted and saved as a py file.
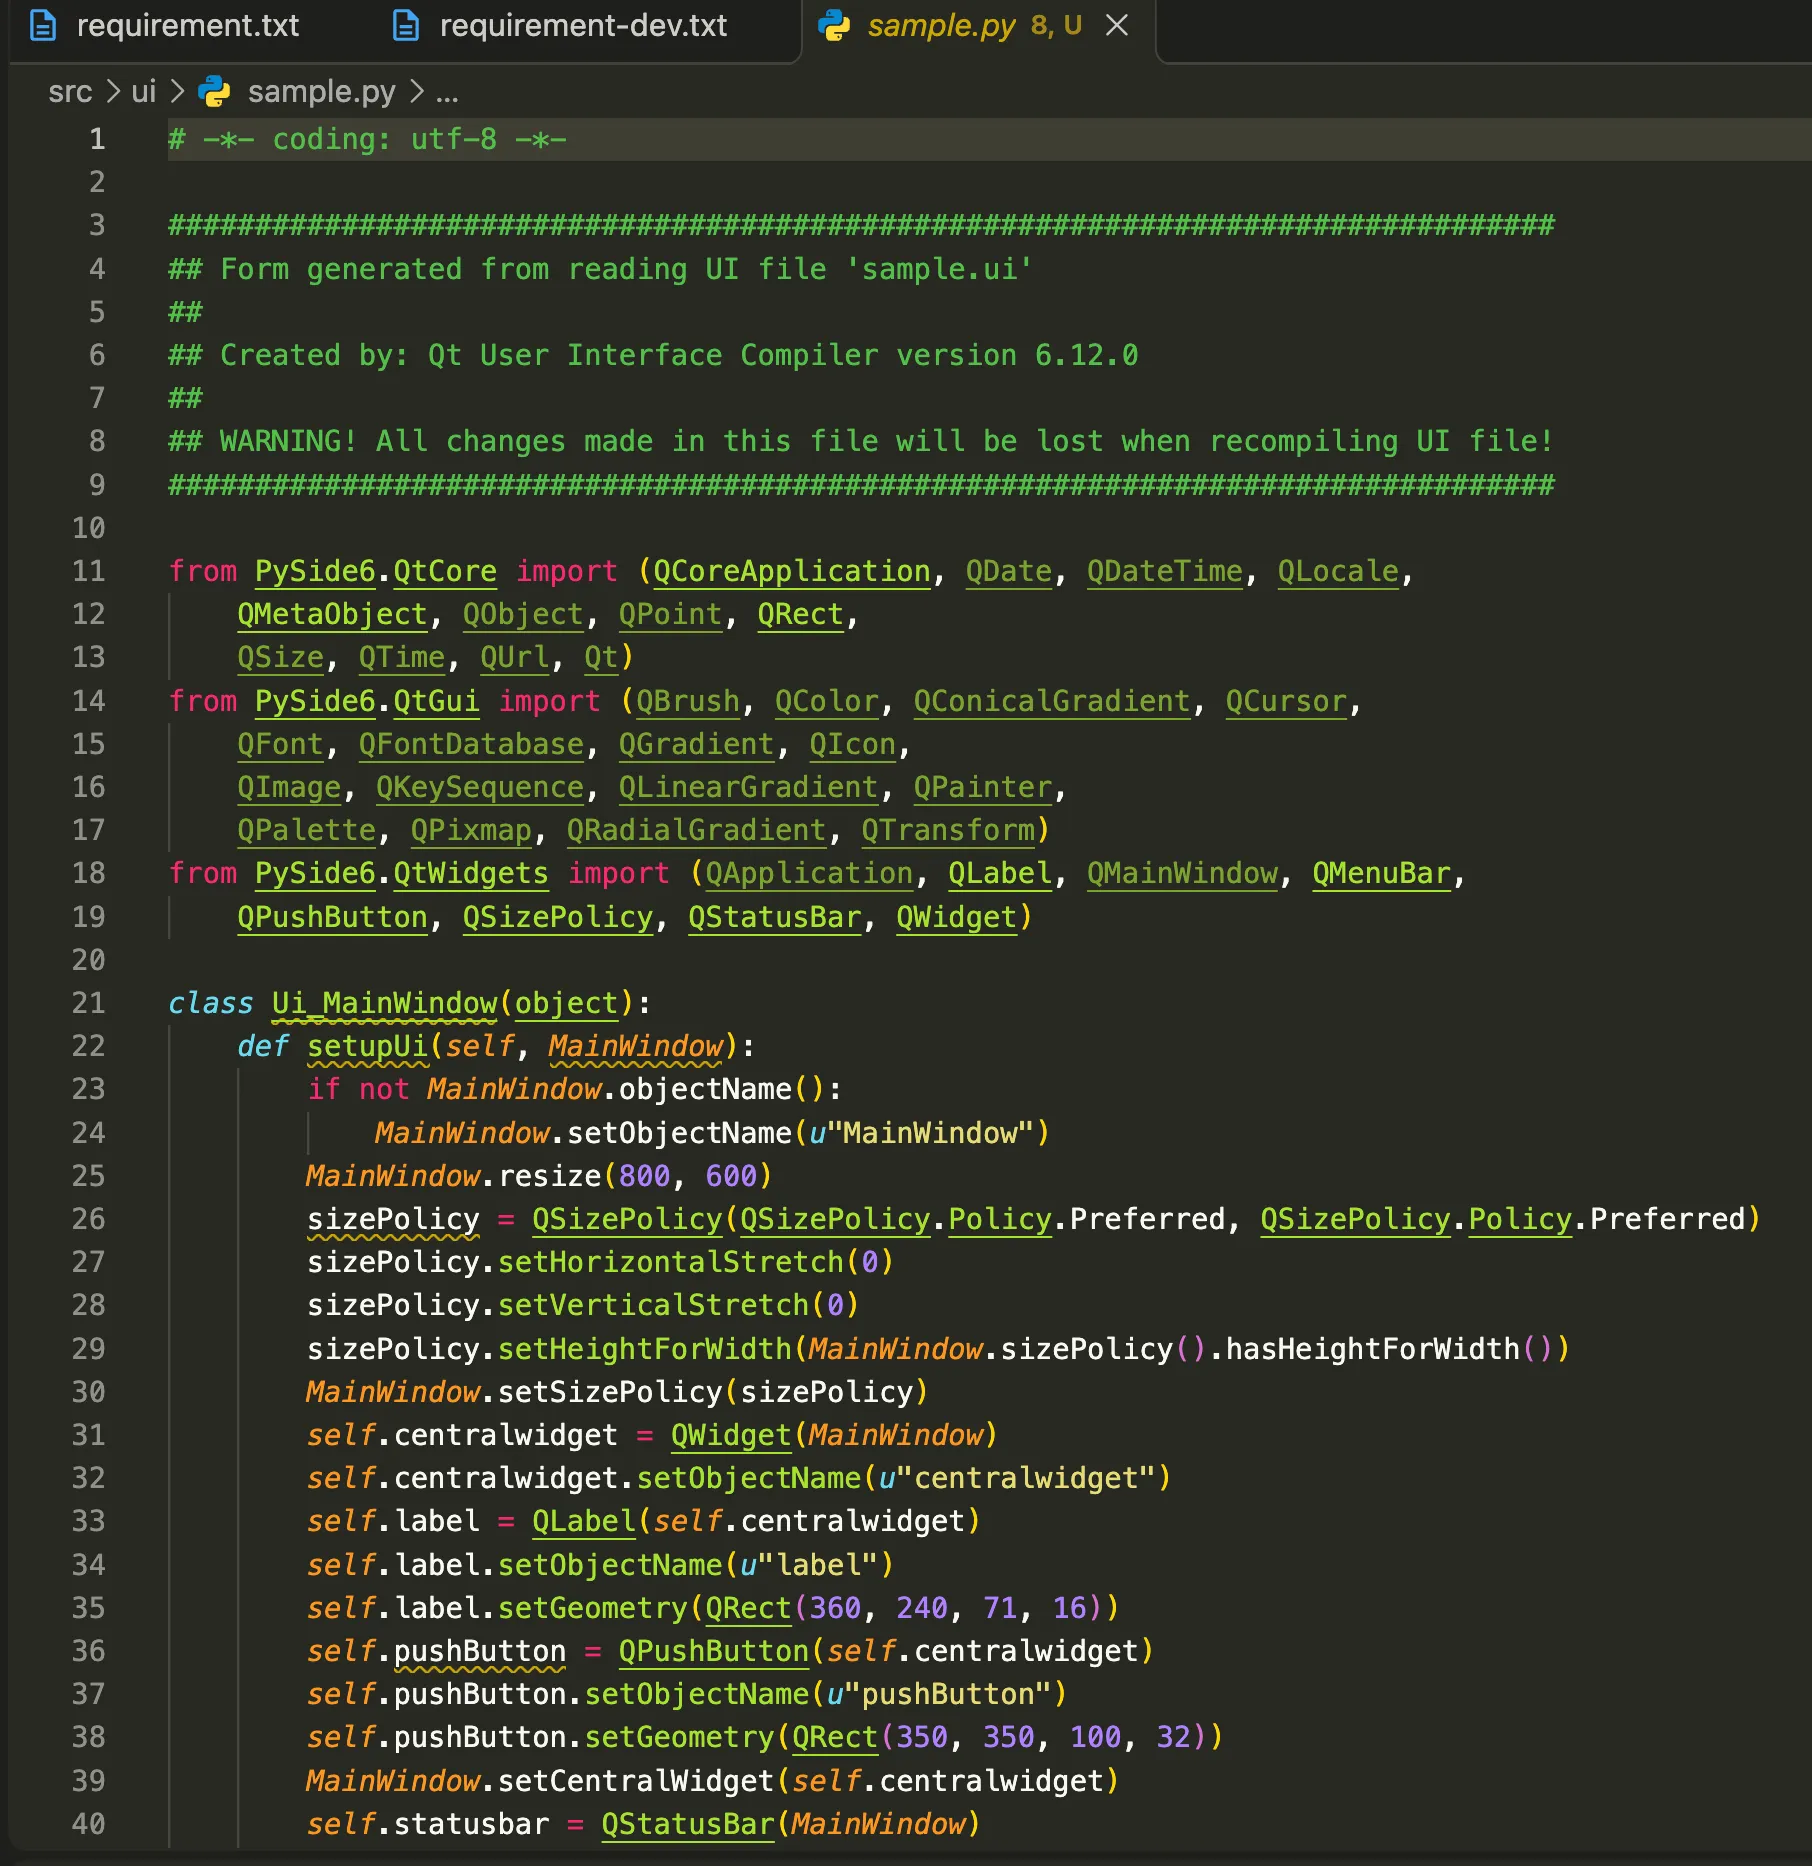
Now that I roughly know how to make a UI, let’s actually build one.

Damn it. PySide6 Designer was clearly a tough mountain to climb. How am I supposed to use this thing! The more I read the docs, the vaguer it got. It felt like the explanations were missing the important parts. So I made a decision. I described what I wanted to build to Claude, had it design the screens with the Figma MCP, reviewed the design myself, and then asked it to turn that design into PySide6 ui files.
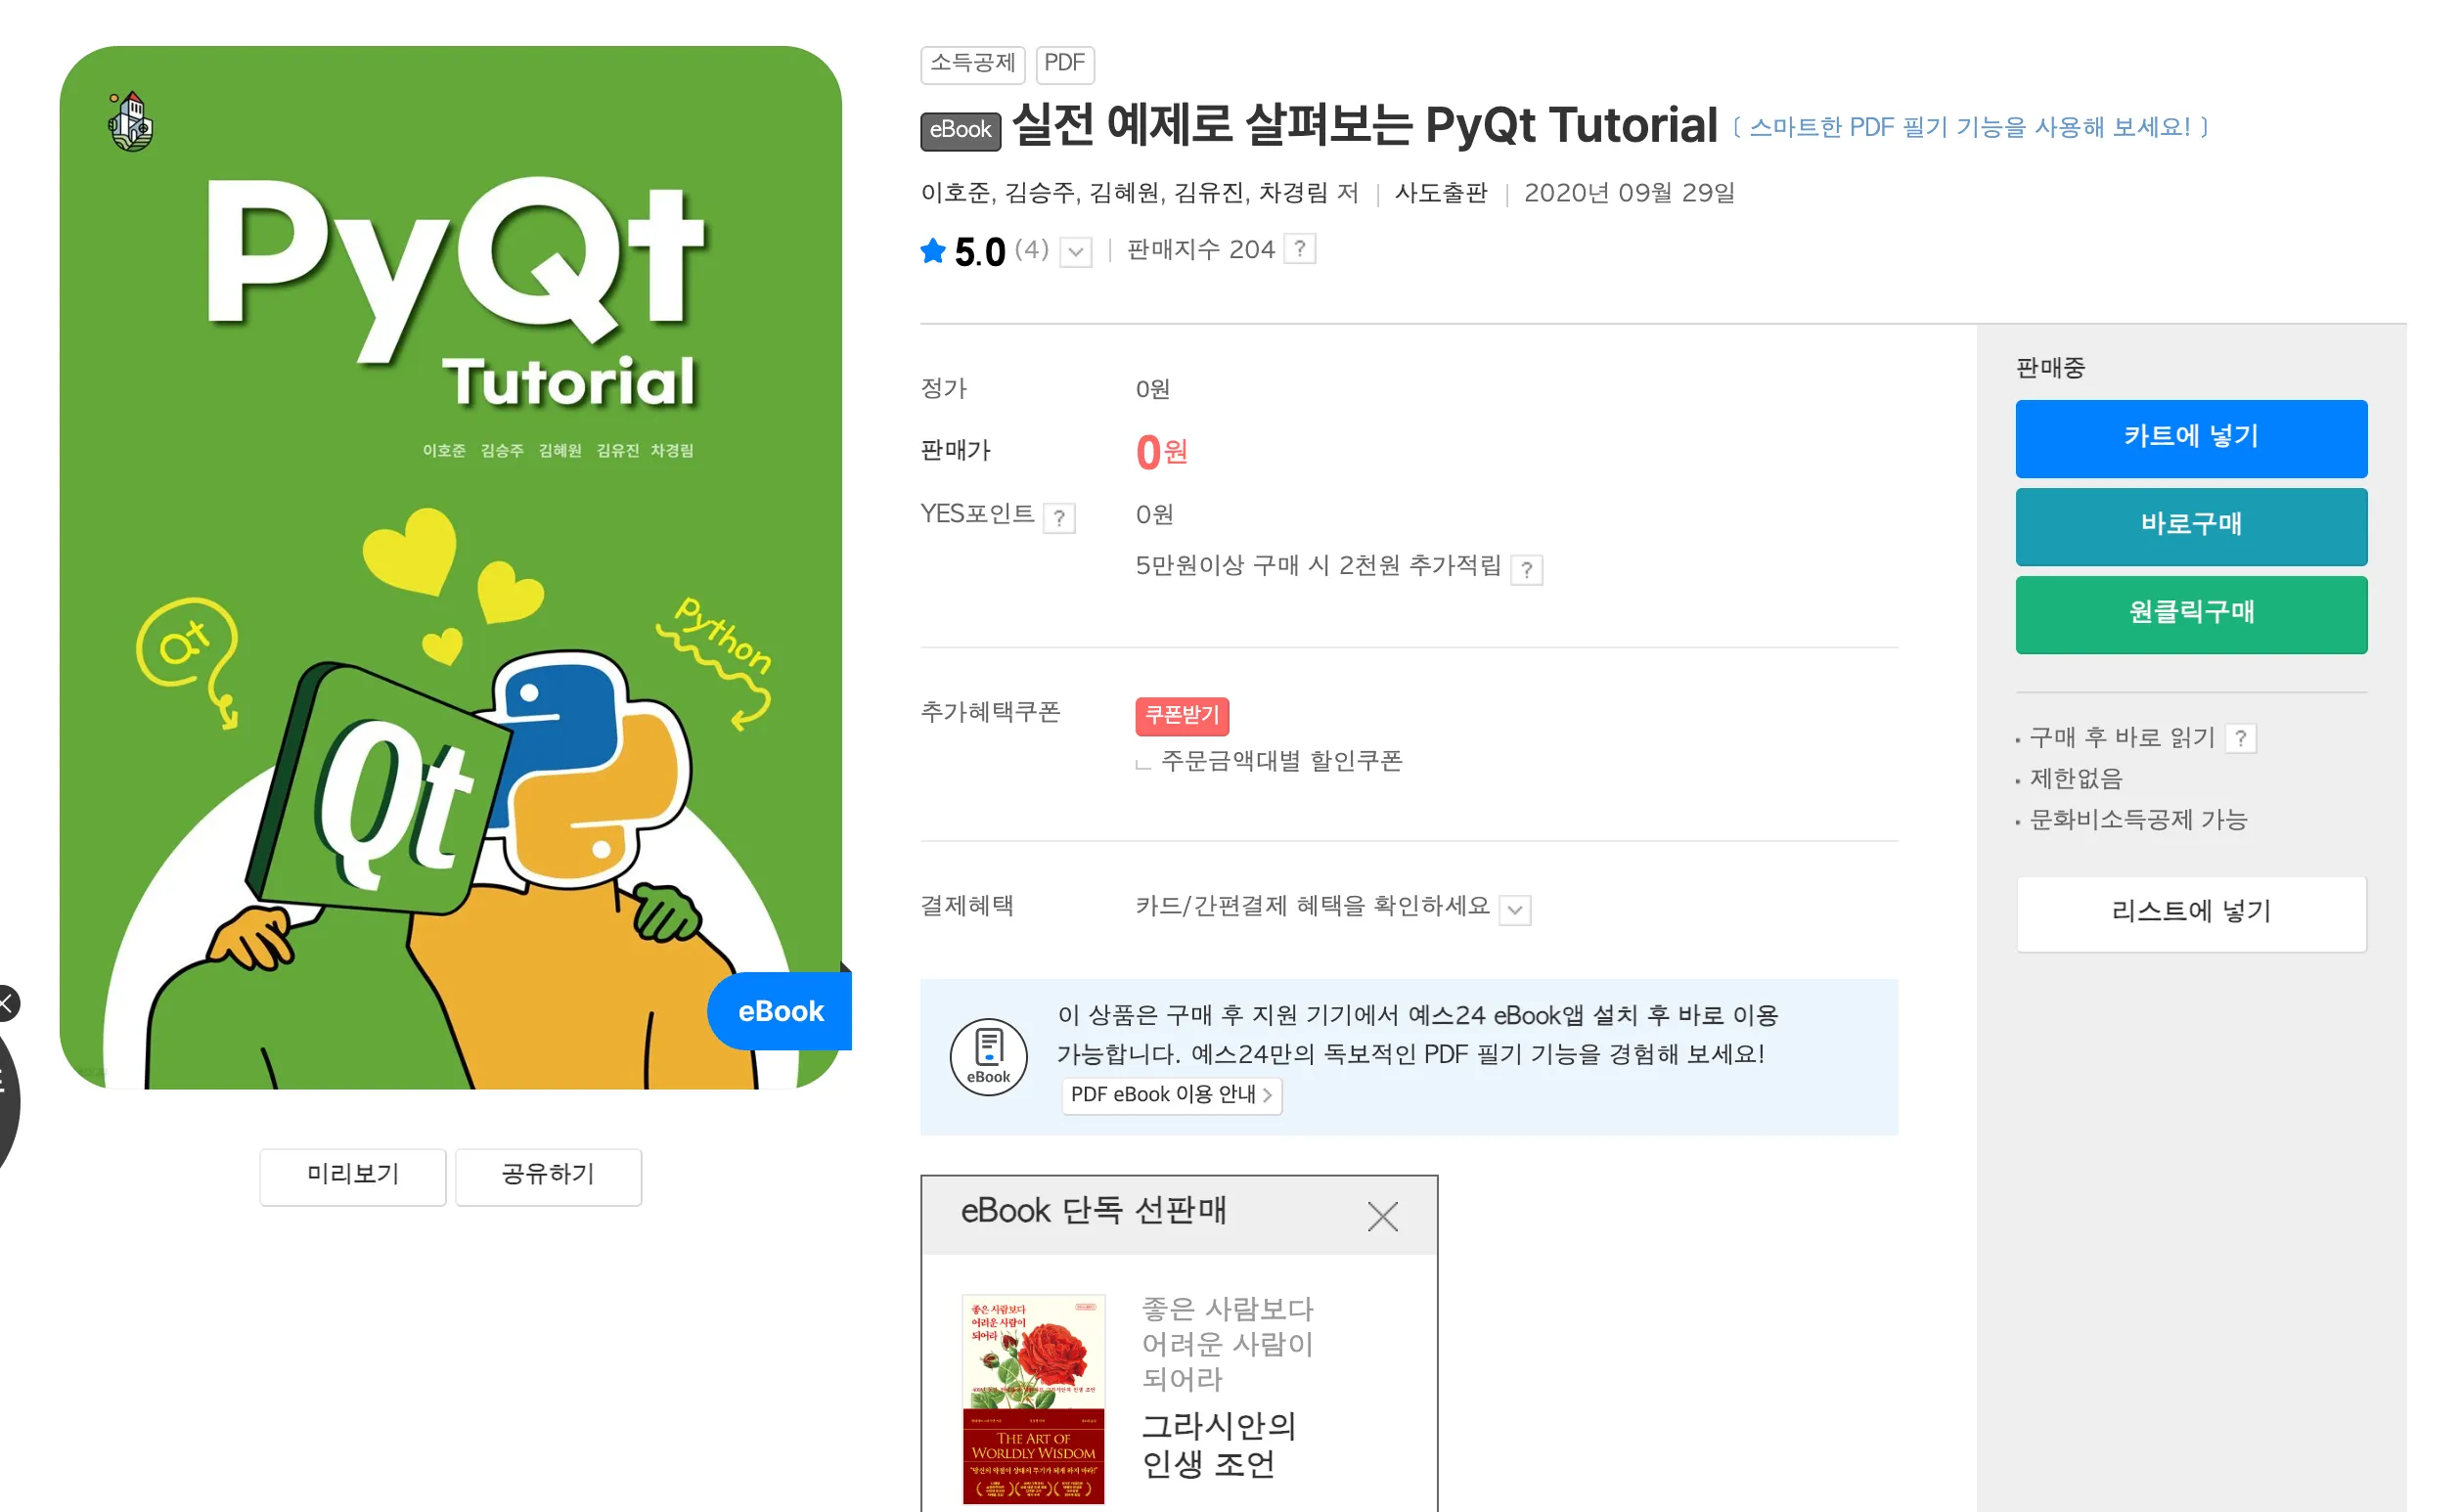
Of course, there are books on PyQt and plenty of lectures on YouTube. But I’m busy, I have a lot of coding to do, and I’m working with a smart AI, so let’s stop agonizing over it. Otherwise I’d be wasting my AI subscription. I’ll study PyQt on the flight back to Korea.
Anyway, while I was busy agonizing, the design Claude made turned into a proper PyQt Designer file.
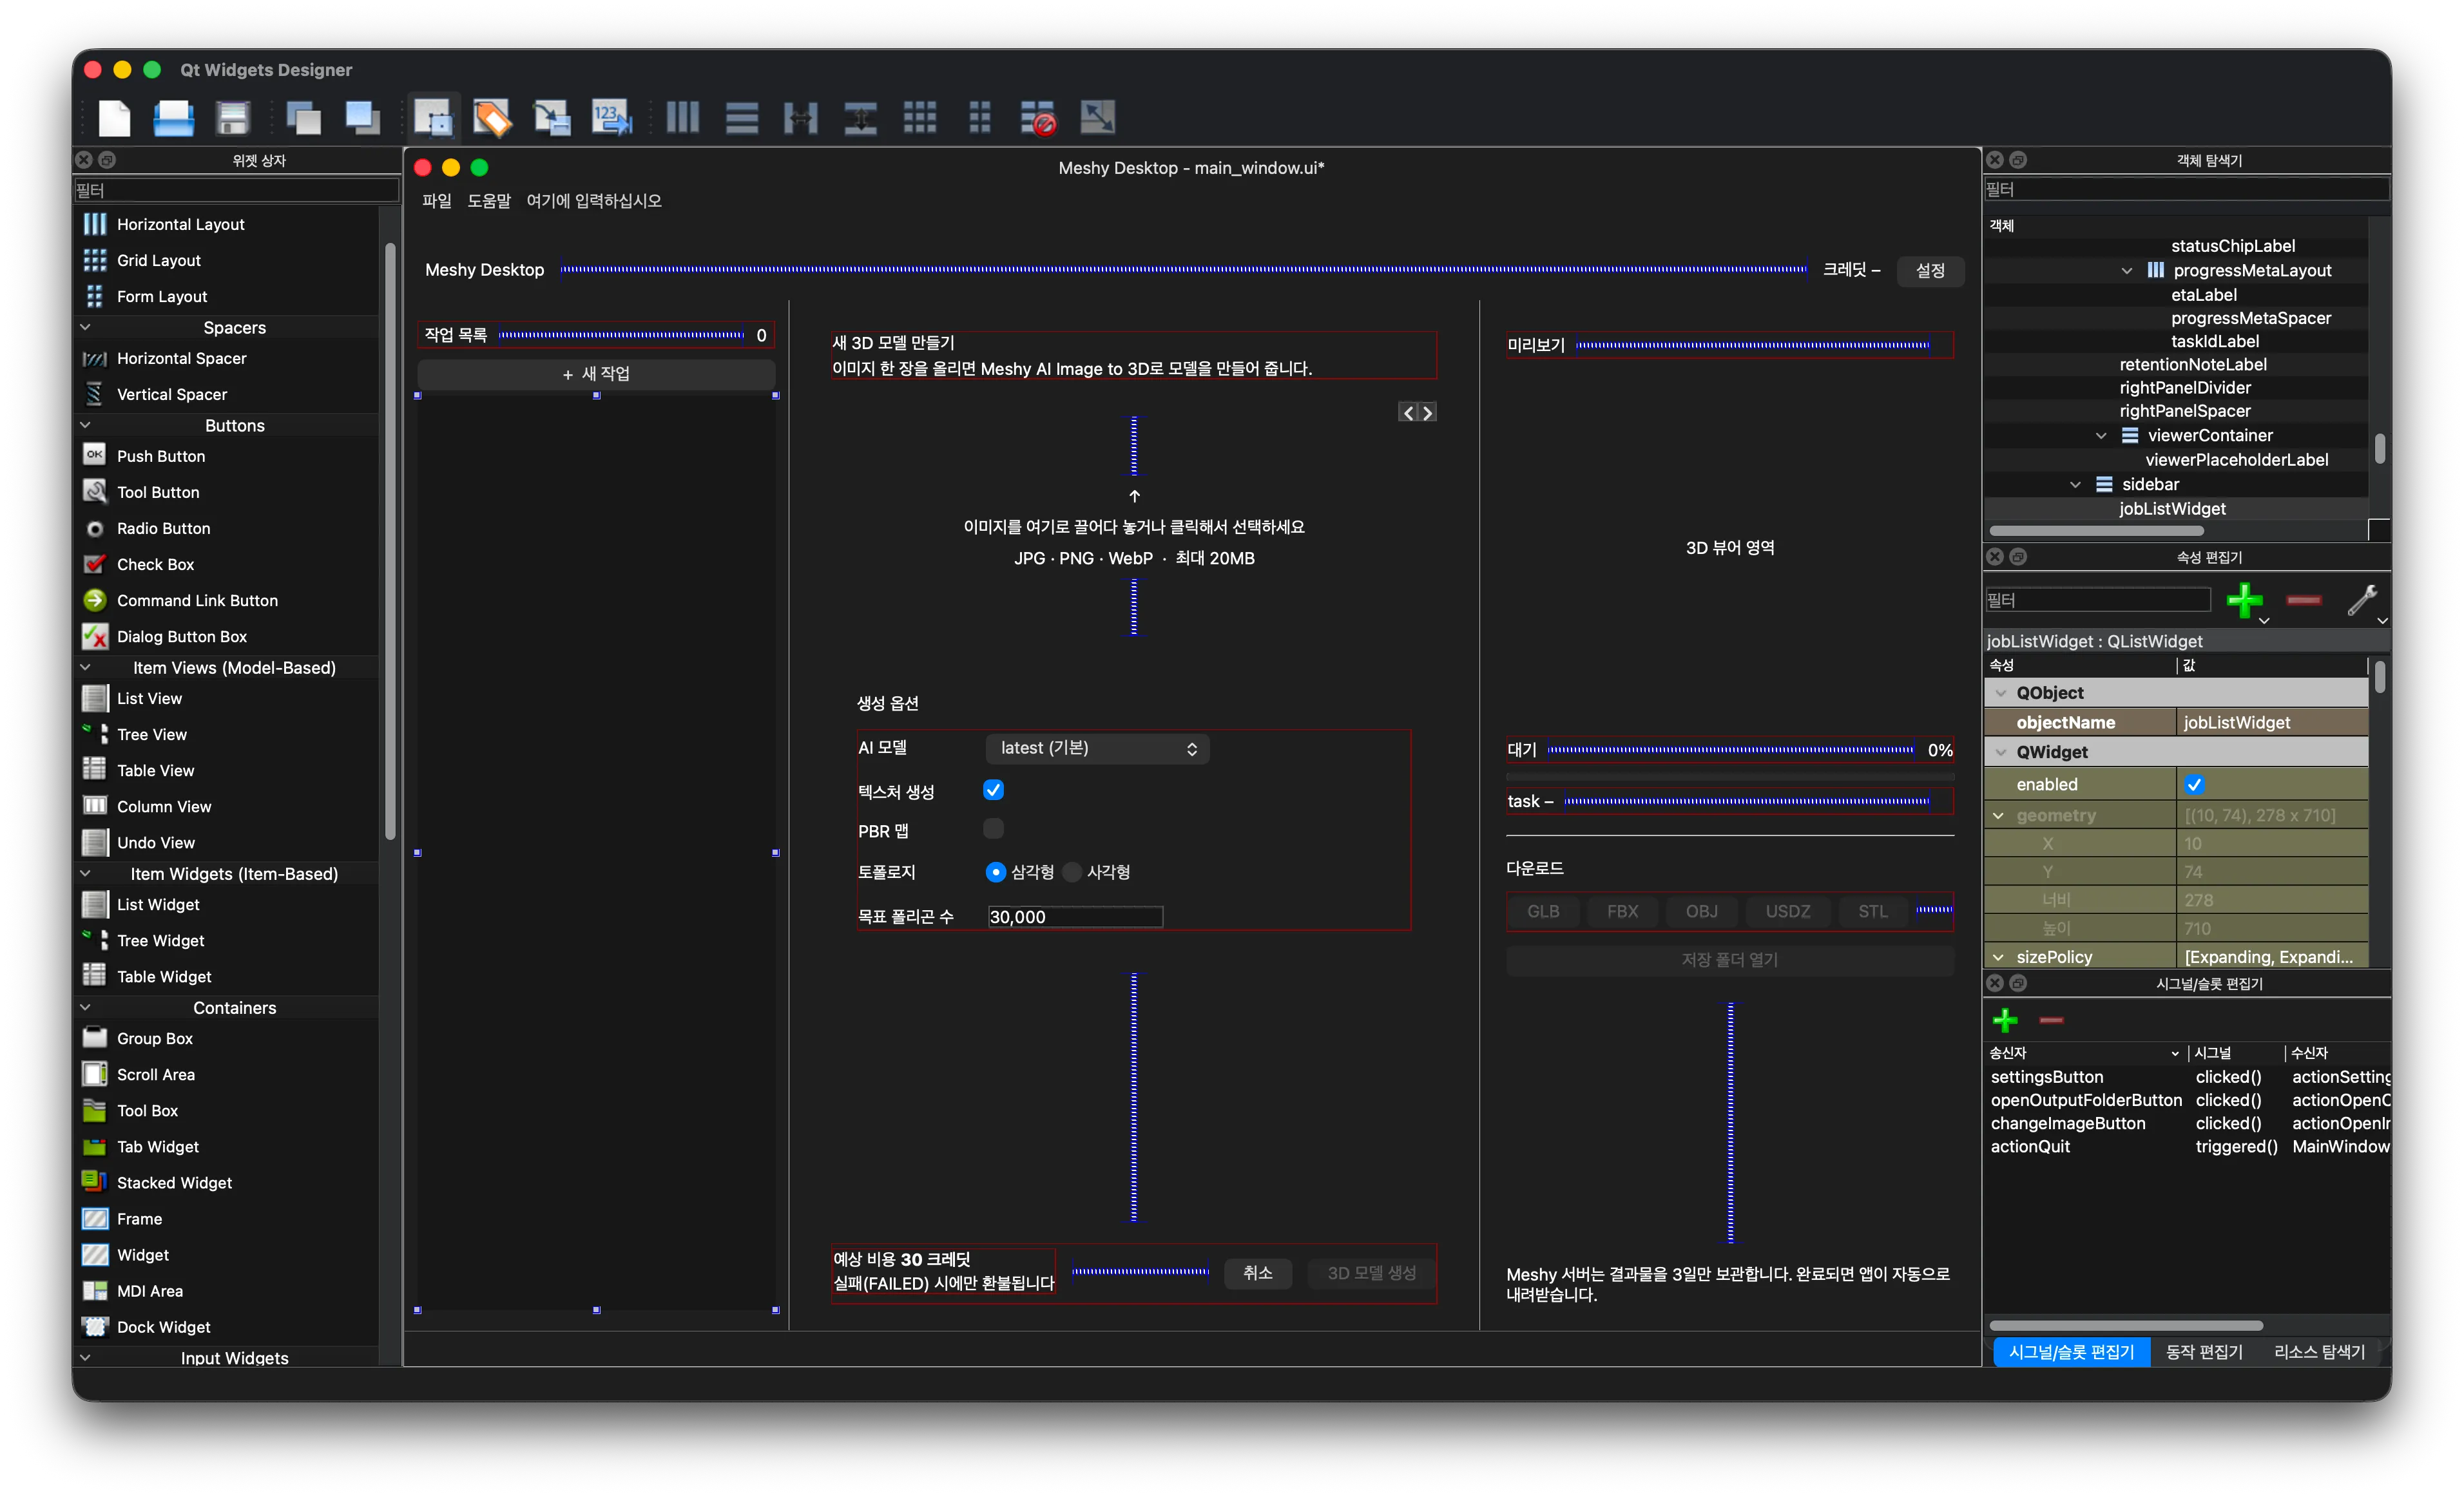
Now let’s convert those ui files into Python.
(.venv) pyside6-uic src/ui/main_window.ui -o src/ui/main_window.py(.venv) pyside6-uic src/ui/job_item.ui -o src/ui/job_item.py(.venv) pyside6-uic src/ui/settings_dialog.ui -o src/ui/settings_dialog.pyAfter running these, I could see the files were created just fine.

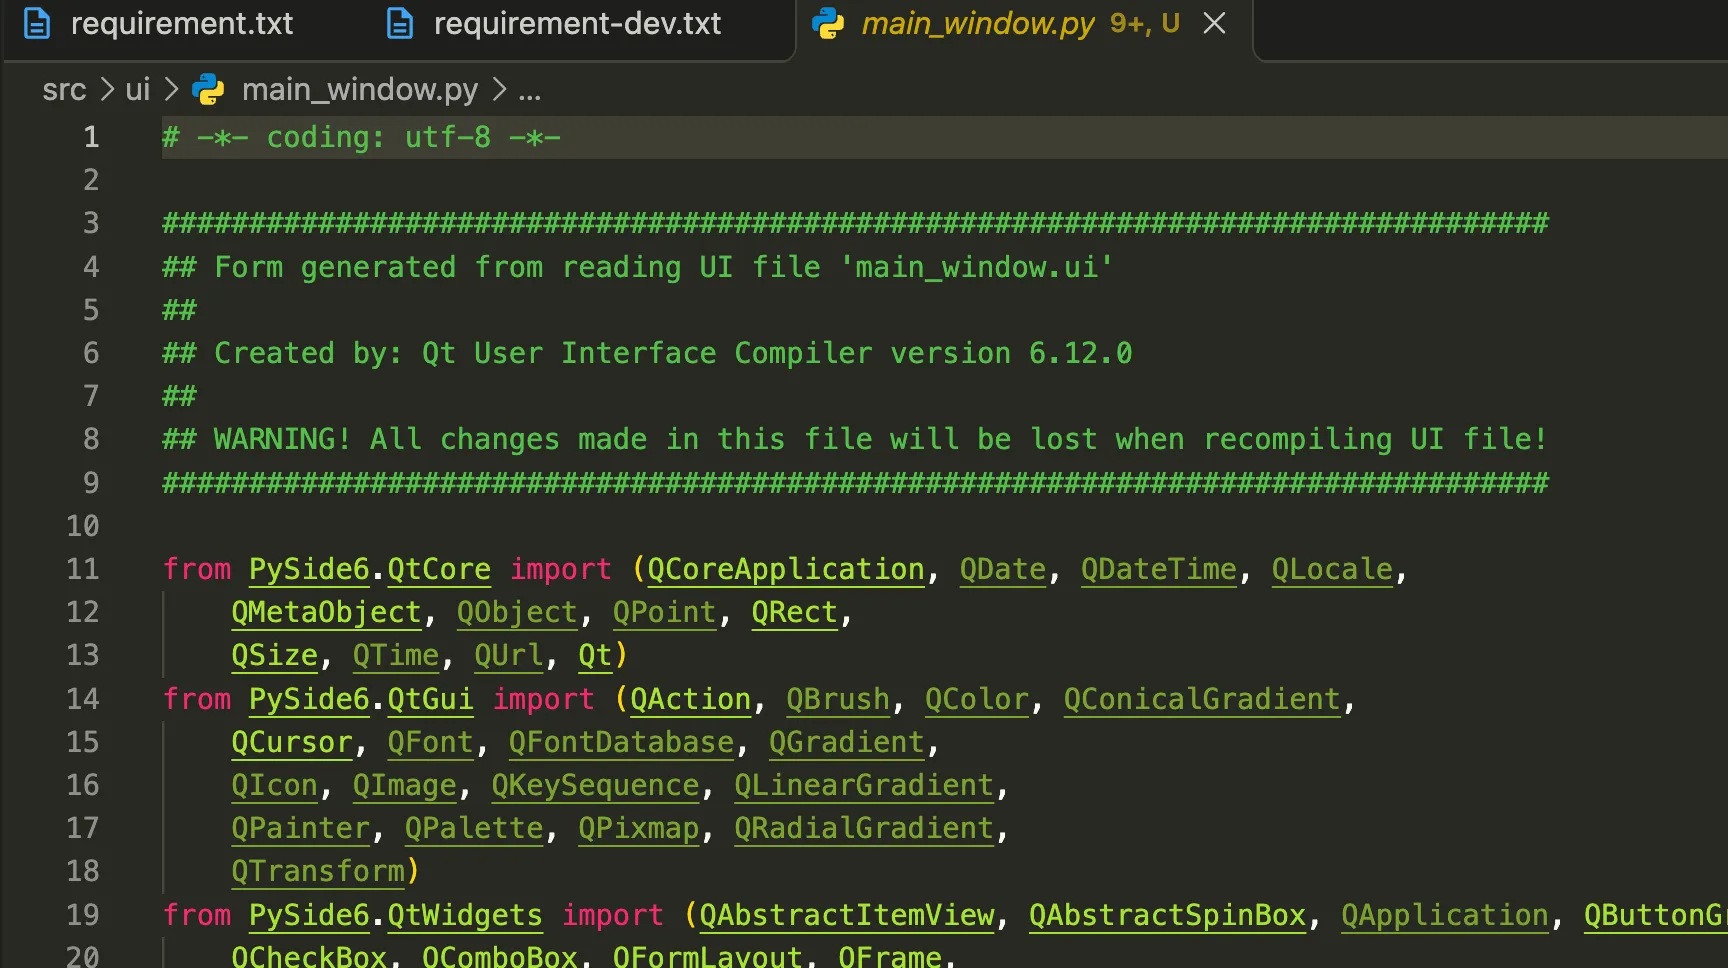
As the next step, let’s do the work needed to actually run this. First, let’s get main_window.py to show up.
Next Step After the UI: Let’s Run It
First, create a windows.py file in the src/ui directory. It wraps the Python files converted from the .ui files into actual widgets.
"""Wraps the Ui_* classes converted by pyside6-uic into actual windows (widgets)
main_window.py / settings_dialog.py / job_item.py get overwritten whenever the .ui files are converted again,
so instead of editing them directly, we inherit from them here and implement the screen behavior
"""
from __future__ import annotations
from PySide6.QtCore import QSizefrom PySide6.QtWidgets import (QDialog,QDialogButtonBox,QLabel,QLineEdit,QListWidgetItem,QMainWindow,QWidget,)
from ui.job_item import Ui_JobItemfrom ui.main_window import Ui_MainWindowfrom ui.settings_dialog import Ui_SettingsDialogfrom ui.theme import polish, refresh_style
def set_chip(label: QLabel, status: str, text: str) -> None: """Changes the status chip text and its status property (pending | in_progress | succeeded | failed)""" label.setText(text) label.setProperty("status", status) refresh_style(label)
class JobItemWidget(QWidget, Ui_JobItem): """One row in the job list (jobListWidget)""" ROW_HEIGHT = 60
def __init__(self, parent: QWidget | None = None) -> None: super().__init__(parent) self.setupUi(self) polish(self)
def set_job(self, name: str, status: str, chip_text: str, detail: str) -> None: self.nameLabel.setText(name) self.detailLabel.setText(detail) set_chip(self.statusChipLabel, status, chip_text)
class SettingsDialog(QDialog, Ui_SettingsDialog): """Settings dialog"""
def __init__(self, parent: QWidget | None = None) -> None: super().__init__(parent) self.setupUi(self)
# Standard button labels show up in English unless the Qt translation (qtbase_ko) is loaded, so we set them ourselves. save = self.buttonBox.button(QDialogButtonBox.StandardButton.Save) cancel = self.buttonBox.button(QDialogButtonBox.StandardButton.Cancel) save.setText("저장") cancel.setText("취소") save.setProperty("variant", "primary") refresh_style(save)
self.showApiKeyButton.toggled.connect(self._toggle_api_key_visible) polish(self)
def _toggle_api_key_visible(self, visible: bool) -> None: mode = QLineEdit.EchoMode.Normal if visible else QLineEdit.EchoMode.Password self.apiKeyEdit.setEchoMode(mode)
class MainWindow(QMainWindow, Ui_MainWindow): """Main window"""
def __init__(self, parent: QWidget | None = None) -> None: super().__init__(parent) self.setupUi(self) self.mainSplitter.setSizes([264, 656, 360])
self.actionSettings.triggered.connect(self.open_settings) self.settingsButton.clicked.connect(self.open_settings) self.actionQuit.triggered.connect(self.close)
polish(self)
def open_settings(self) -> None: SettingsDialog(self).exec()
def add_job(self, name: str, status: str, chip_text: str, detail: str) -> JobItemWidget: """Adds one JobItemWidget row to the job list""" row = JobItemWidget() row.set_job(name, status, chip_text, detail)
item = QListWidgetItem(self.jobListWidget) item.setSizeHint(QSize(0, JobItemWidget.ROW_HEIGHT))
self.jobListWidget.setItemWidget(item, row) self.jobCountLabel.setText(str(self.jobListWidget.count())) return rowPySide is new to me too, so I got here by looking things up and asking AI. Next, we need an entry point. That’s main.py.
"""Meshy Desktop entry point.
Usage (from the project root): python src/main.py # Main window python src/main.py settings # Show only the settings dialog python src/main.py --sample # Show the window with sample JobItems in the job list"""
from __future__ import annotationsimport sysfrom pathlib import Path
sys.path.insert(0, str(Path(__file__).resolve().parent))
from PySide6.QtWidgets import QApplication
from ui.theme import apply_themefrom ui.windows import MainWindow, SettingsDialog
SAMPLE_JOBS = [ ("chair_front.png", "in_progress", "진행 중", "62% · 약 1분 남음"), ("sneaker_photo.jpg", "succeeded", "완료", "12분 전"), ("ceramic_mug.webp", "succeeded", "완료", "어제"), ("lamp_side.jpg", "failed", "실패", "크레딧 환불됨 · 어제"),]
def main() -> int: app = QApplication(sys.argv) app.setApplicationName("Meshy Desktop") apply_theme(app) args = sys.argv[1:]
if "settings" in args: return SettingsDialog().exec()
window = MainWindow()
if "--sample" in args: for job in SAMPLE_JOBS: window.add_job(*job) window.jobListWidget.setCurrentRow(0)
window.show() return app.exec()
if __name__ == "__main__": raise SystemExit(main())Not all the behavior is built yet, so I added a sample mode.
So I went into the src directory and ran python main.py --sample.
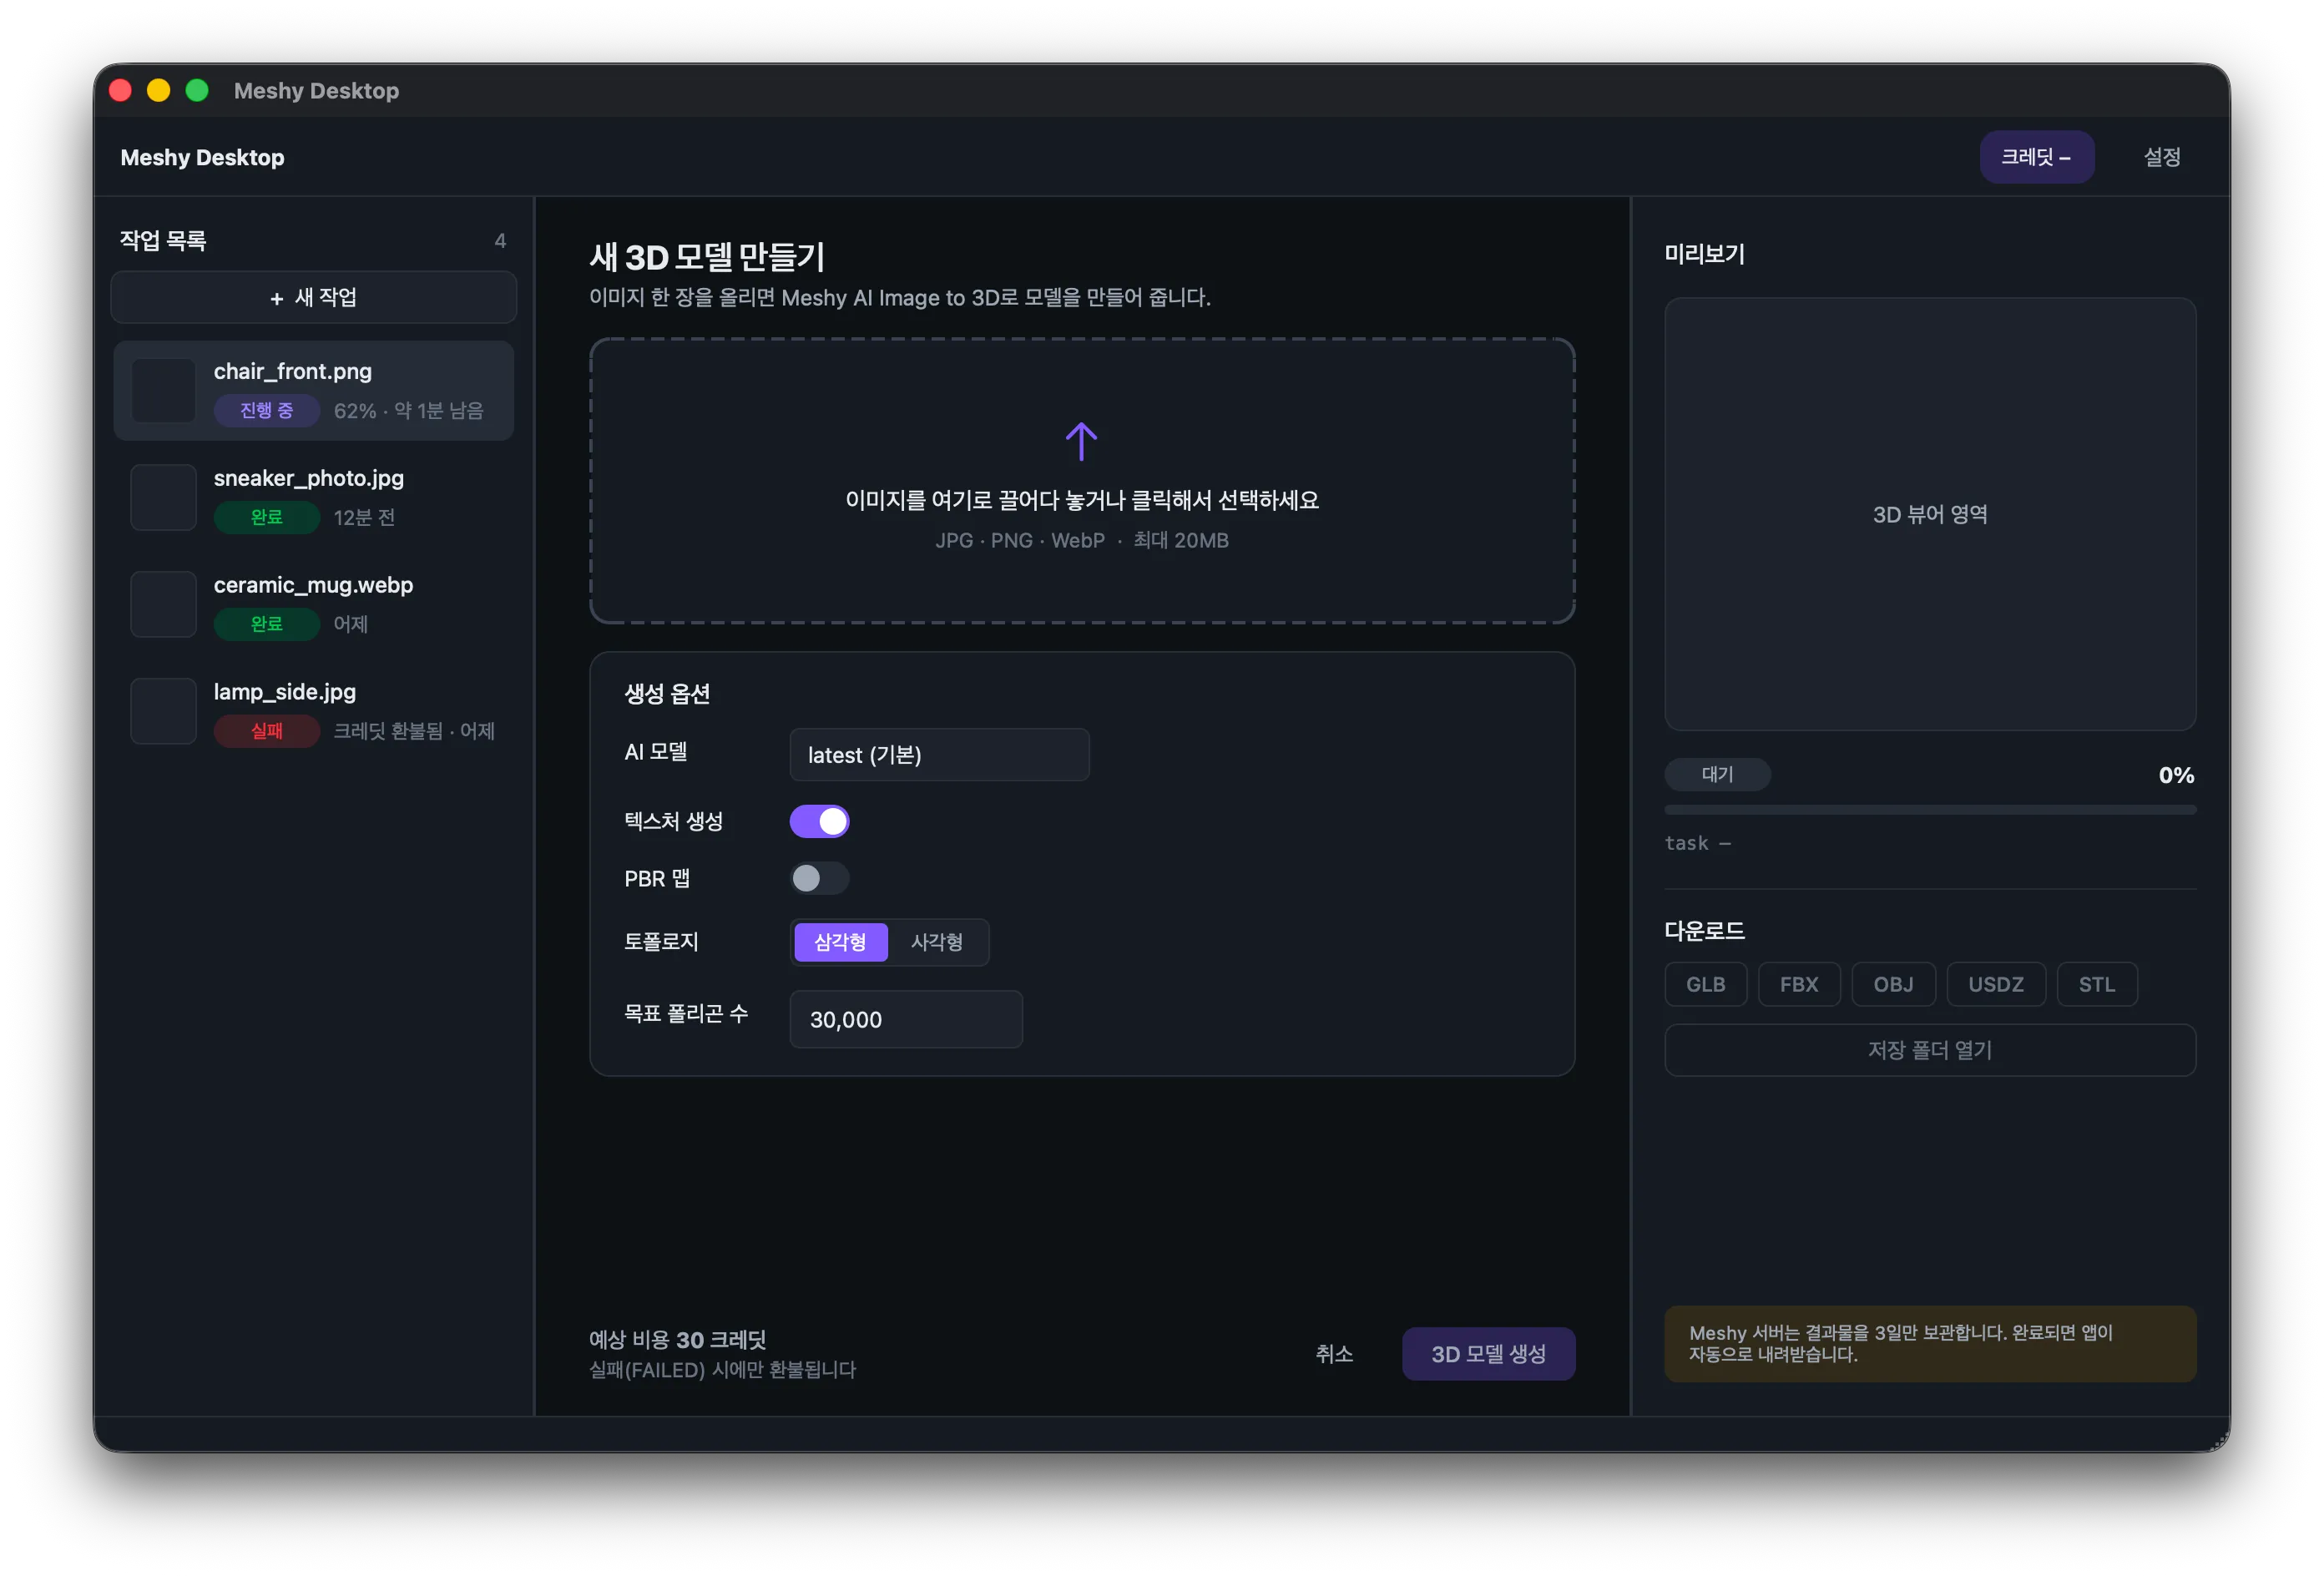 If you want to follow along, cloning the Git repository and running it yourself might not be a bad idea.
Next time, let’s start wiring features into the prototype.
That’s it for today!

Loading comments...